




















































































































































































































































10% off the VAT-included price (bikes, frames, skis and snowboards) for pickup at the COMMENCAL Village (Andorra) – Order online here!

unboxing
unboxing
Congratulations on the purchase of your COMMENCAL RAMONES 12. Here we offer some help so you can build it up and get out there!
1
1
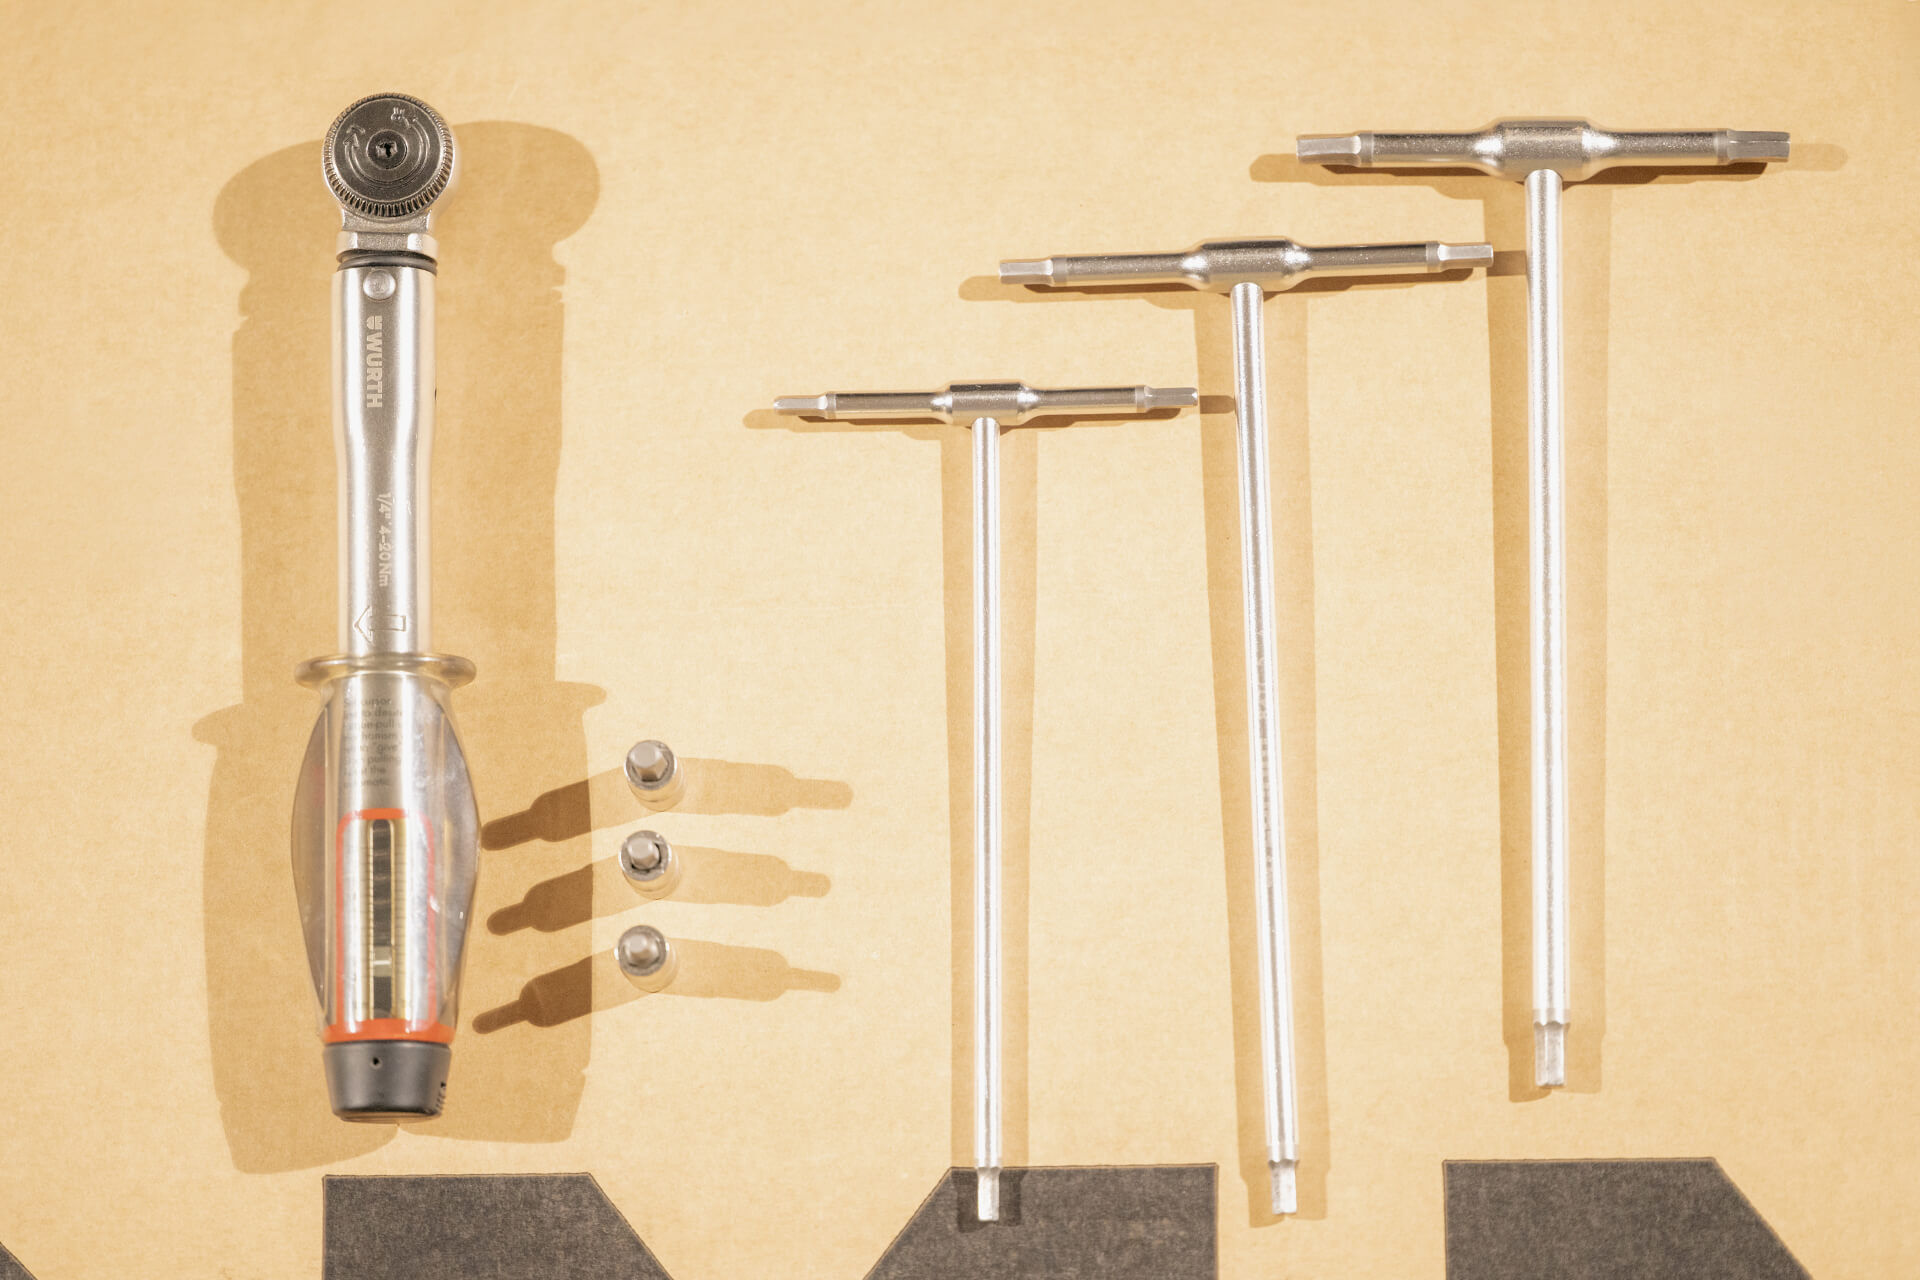
Prepare the necessary tools before you start :
- 4/5mm Allen key
- 4/5mm Torque wrench
- Flathead screwdriver (for staples)
- Cutting pliers (for plastic cable ties)
2
2
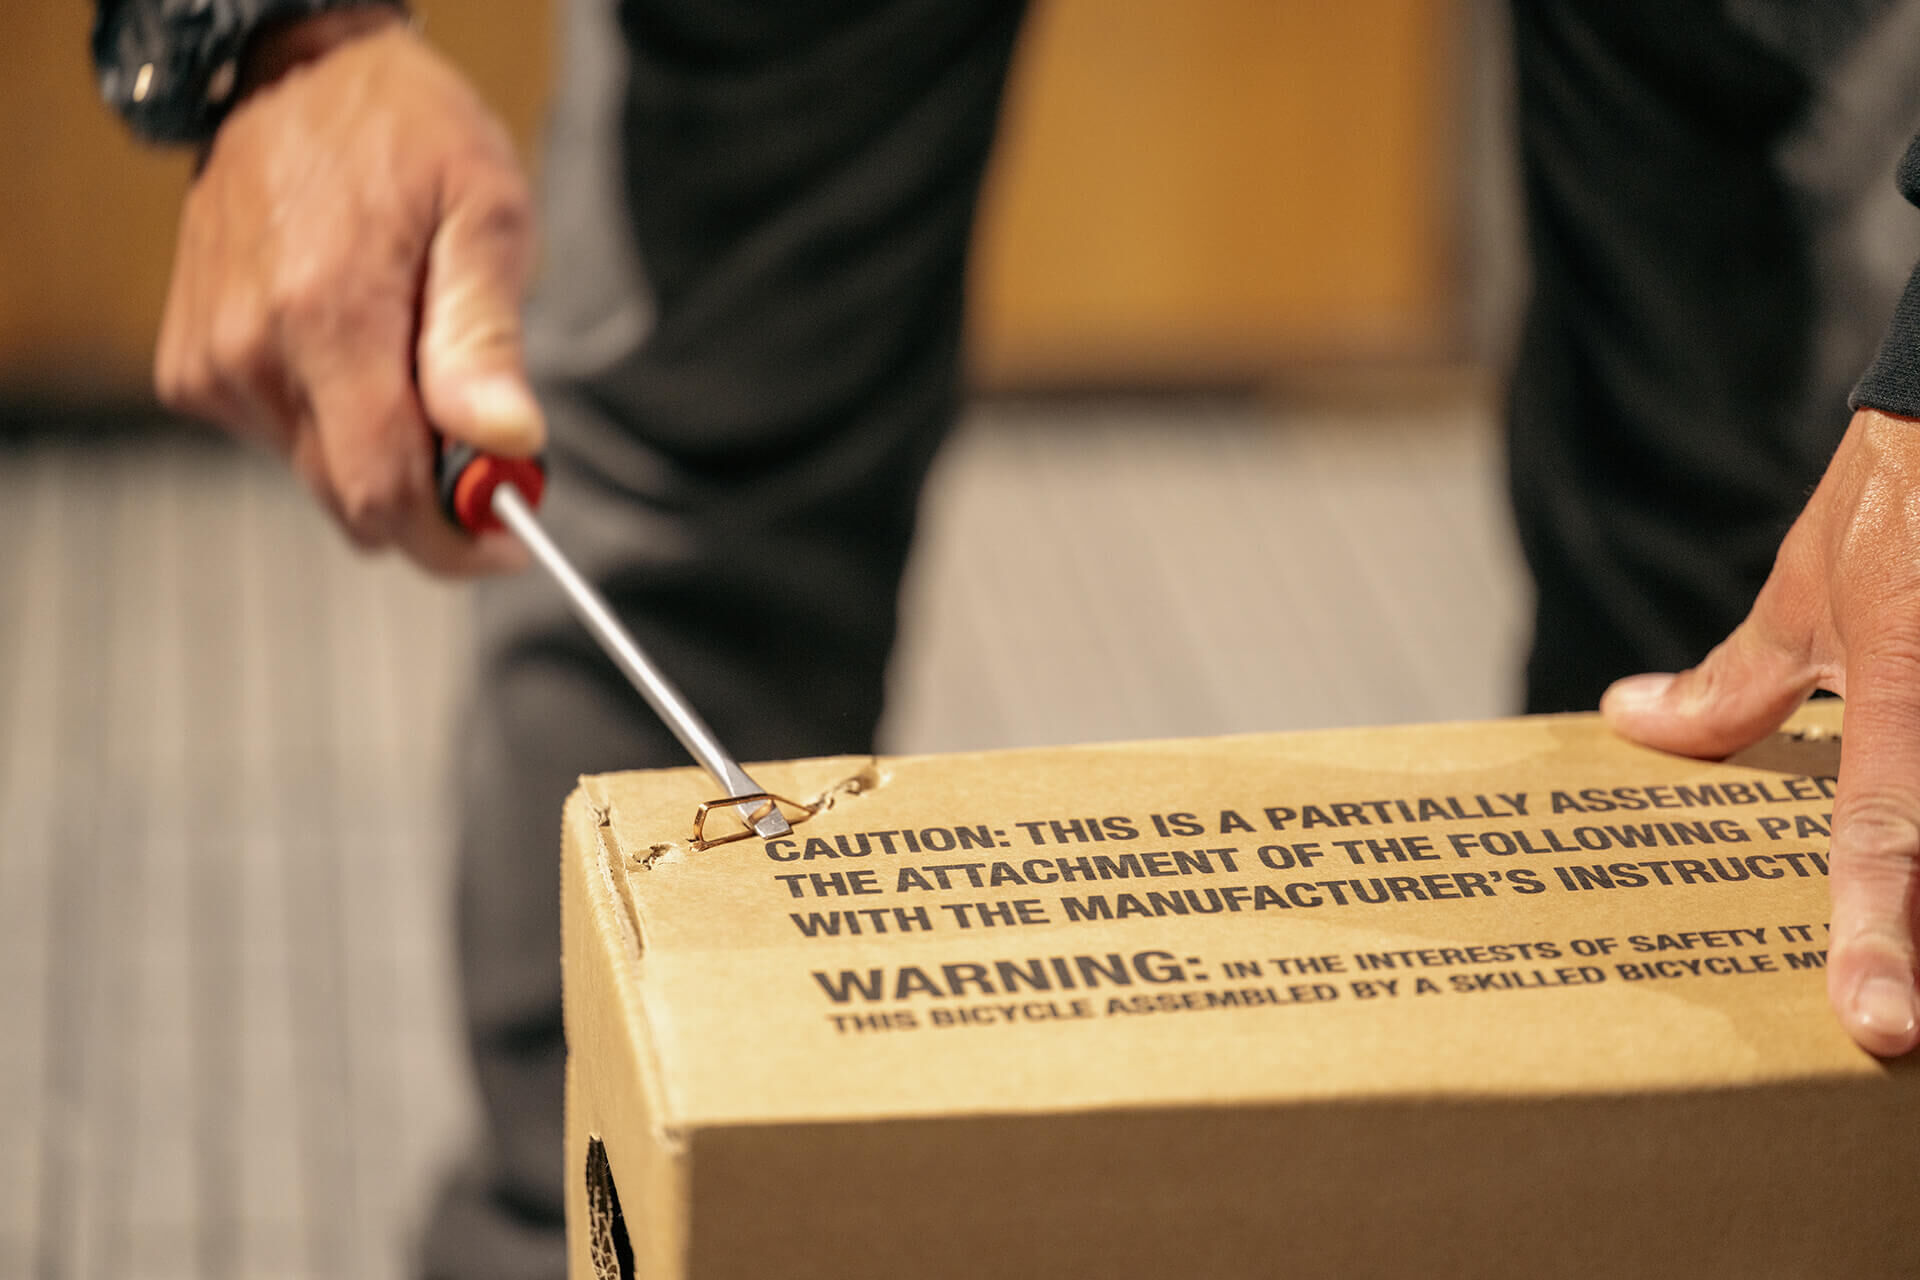
Remove the staples from the box and open it.
3
3
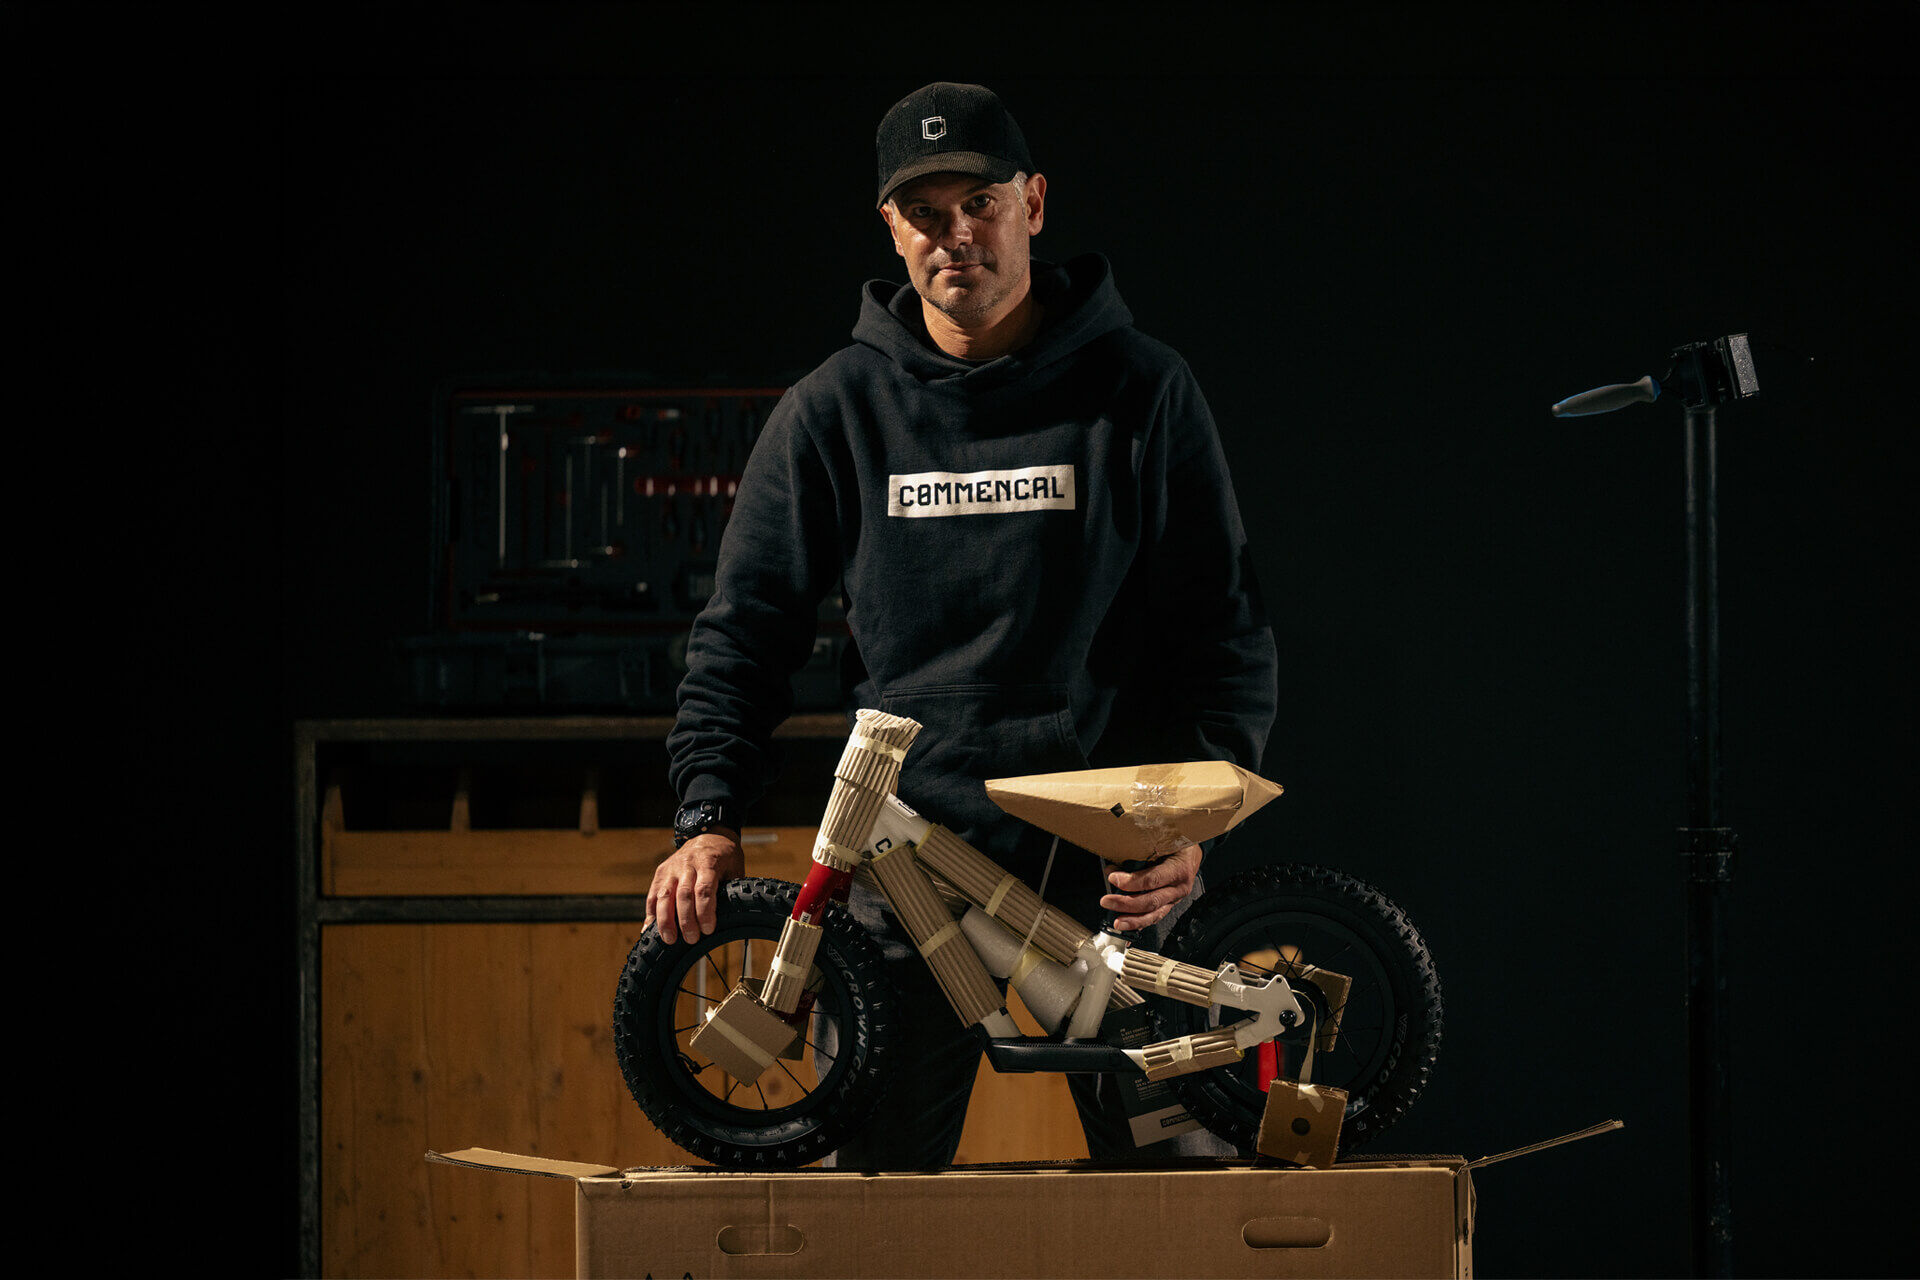
Take the bike out of the box.
4
4
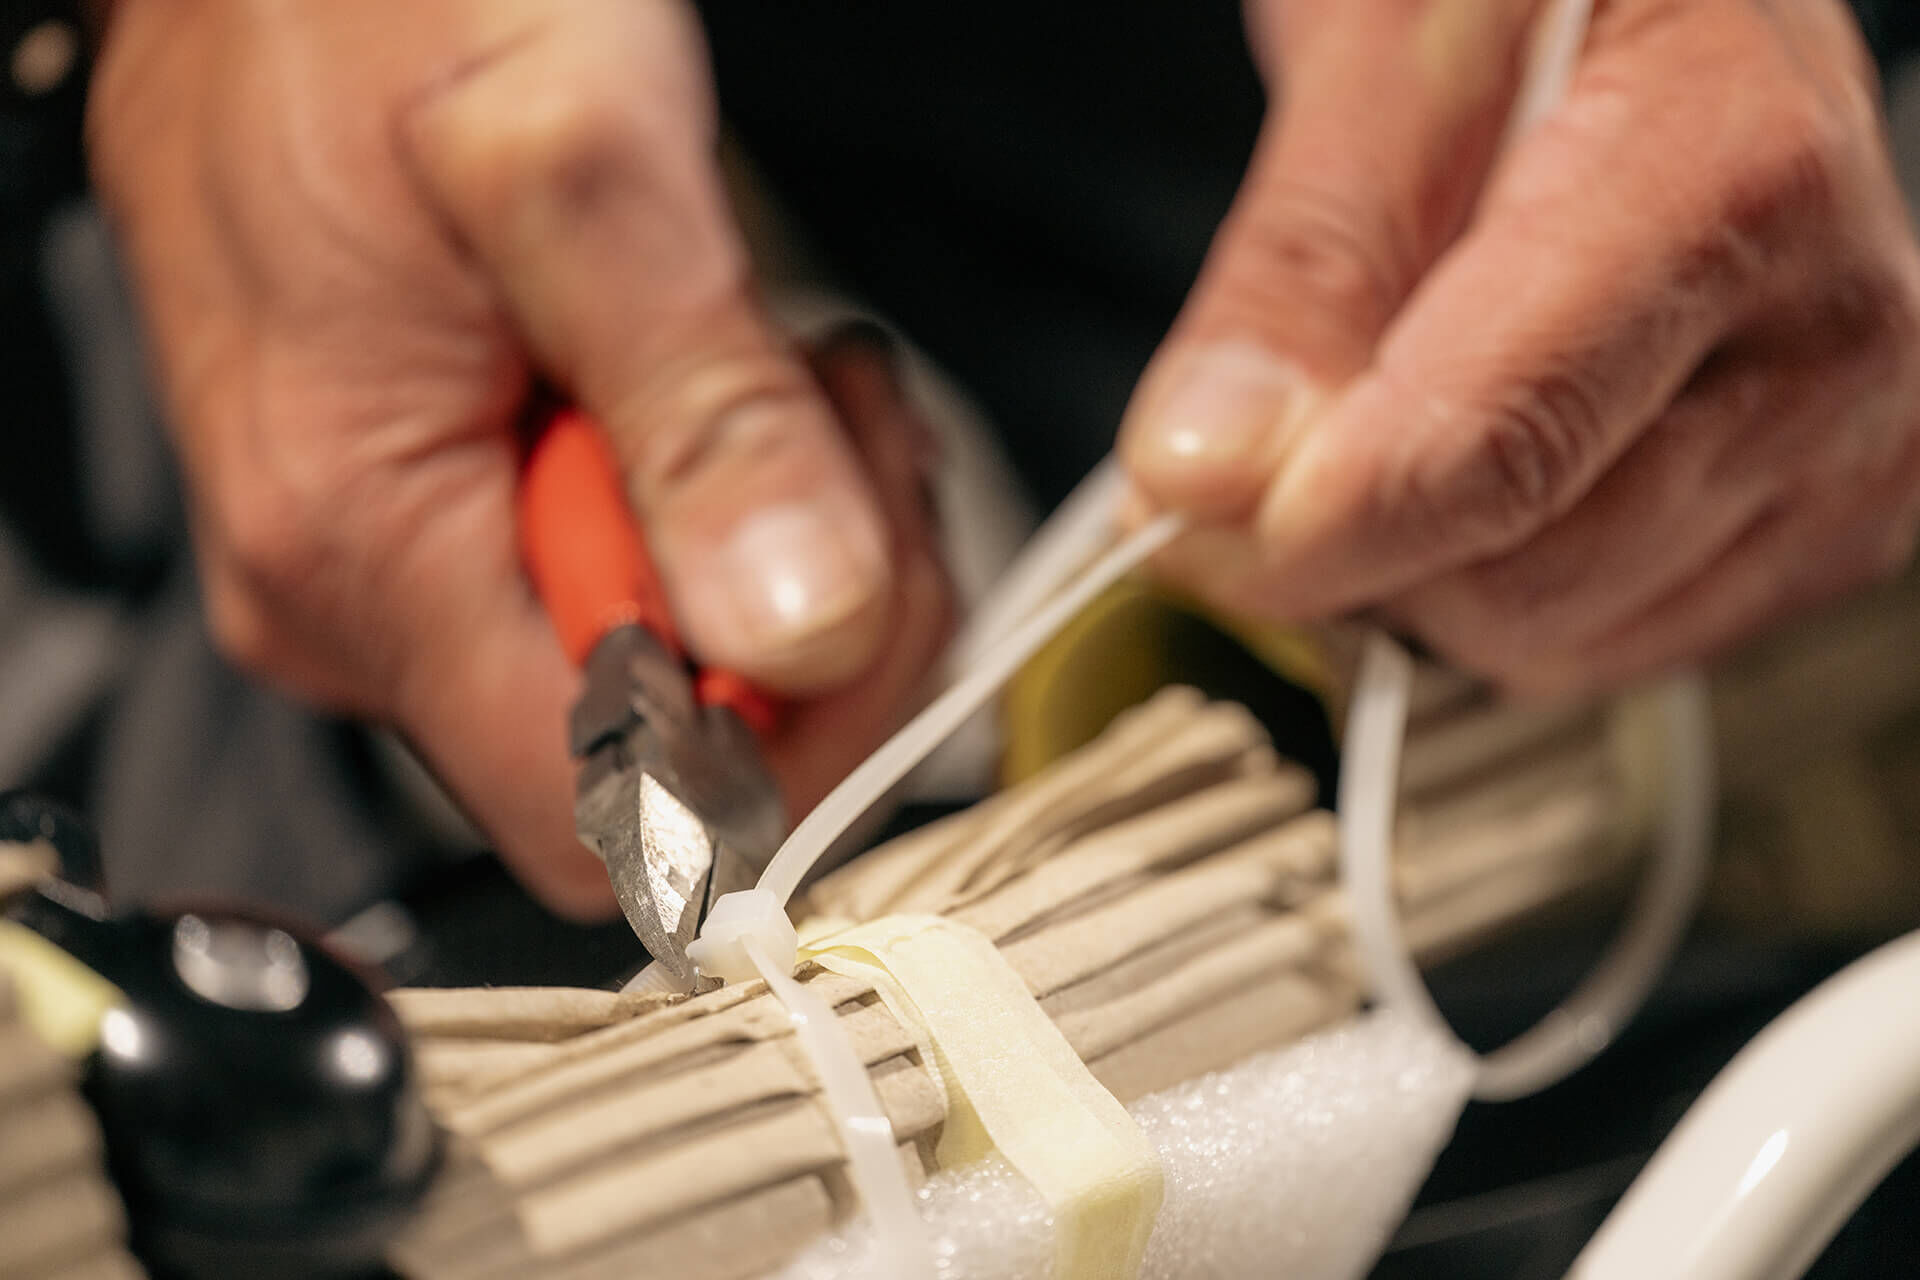
Cut the plastic cable ties.
5
5
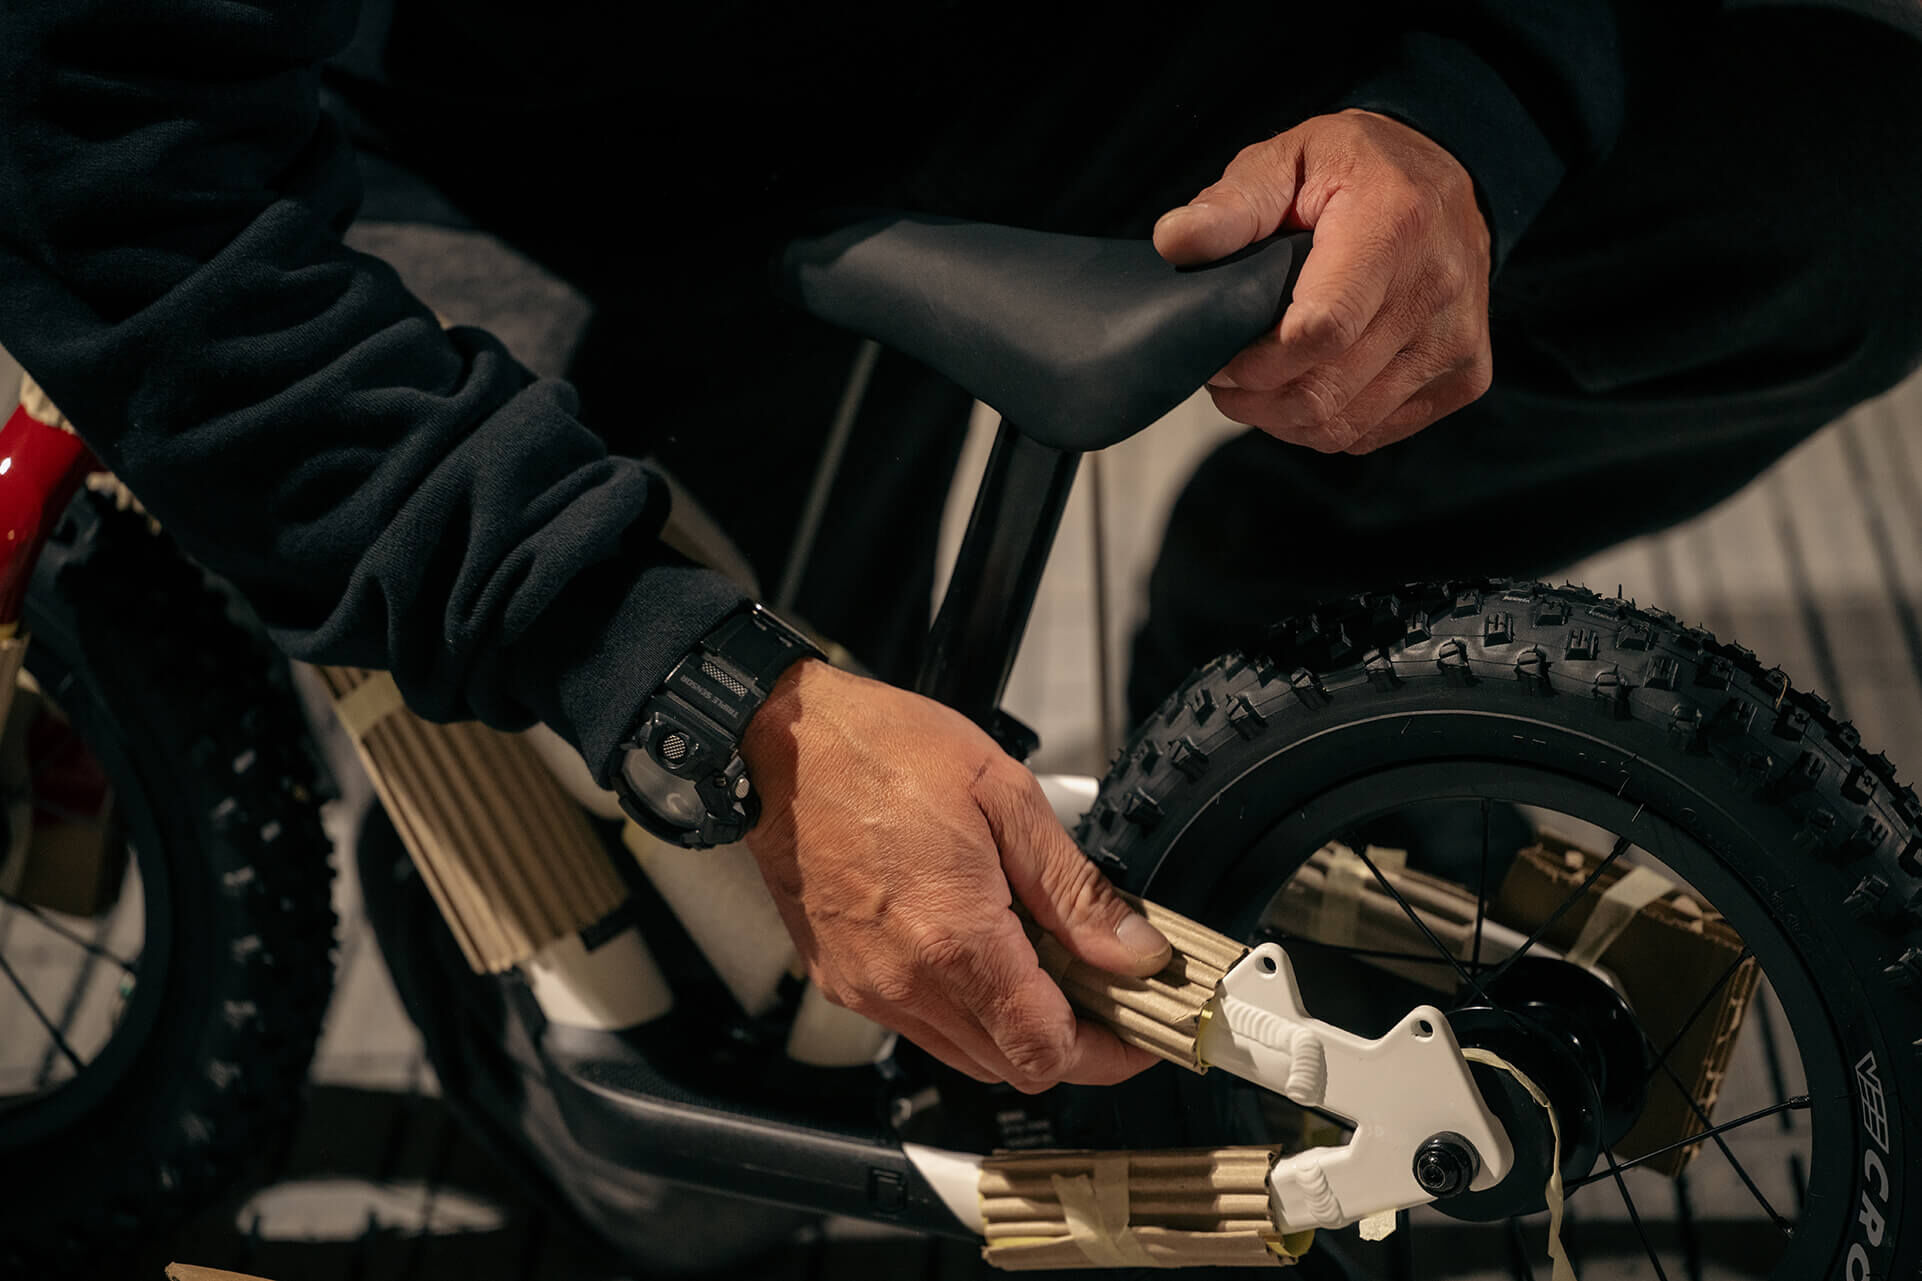
Remove all protective coverings.
6
6
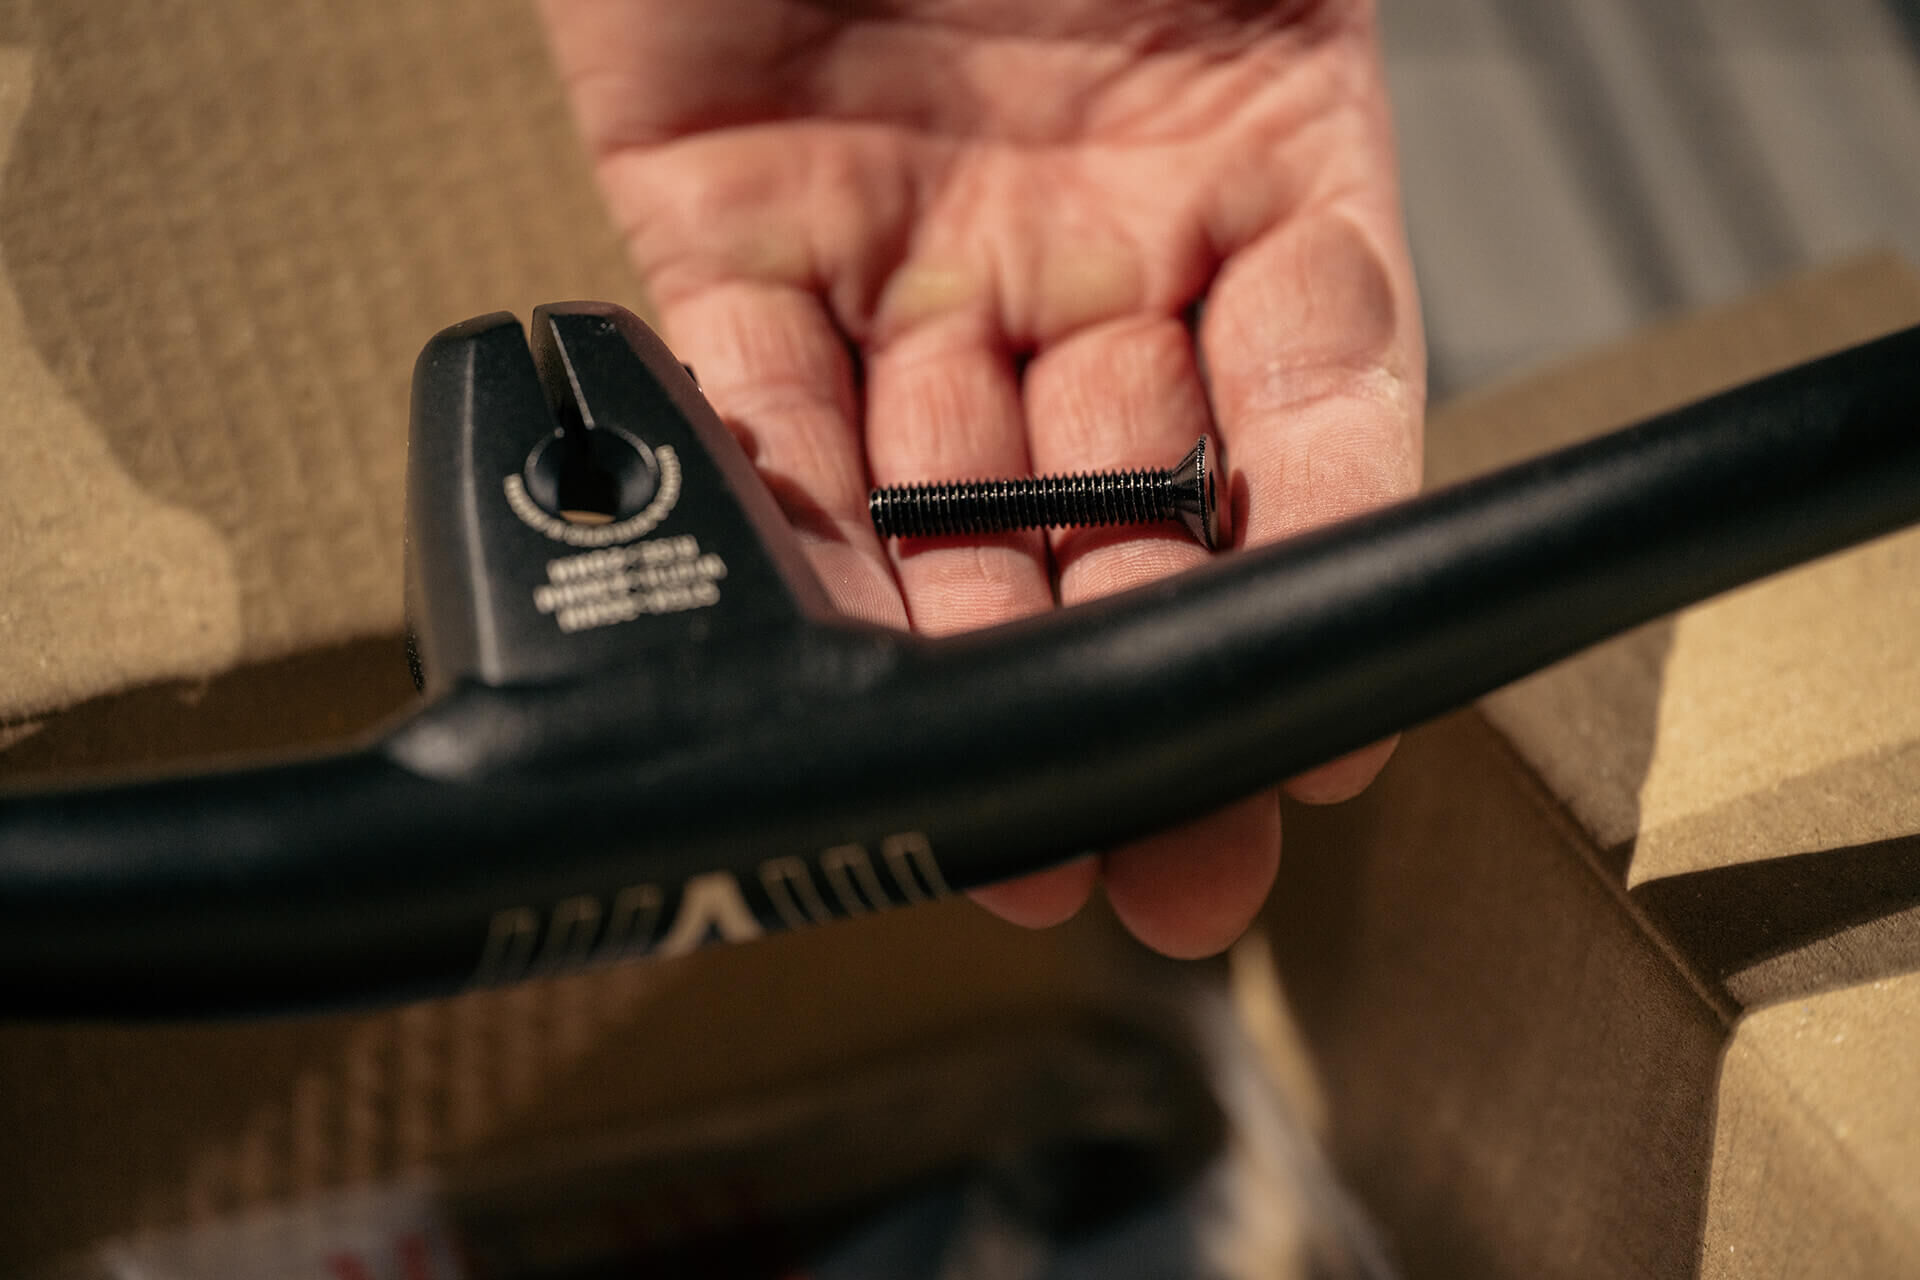
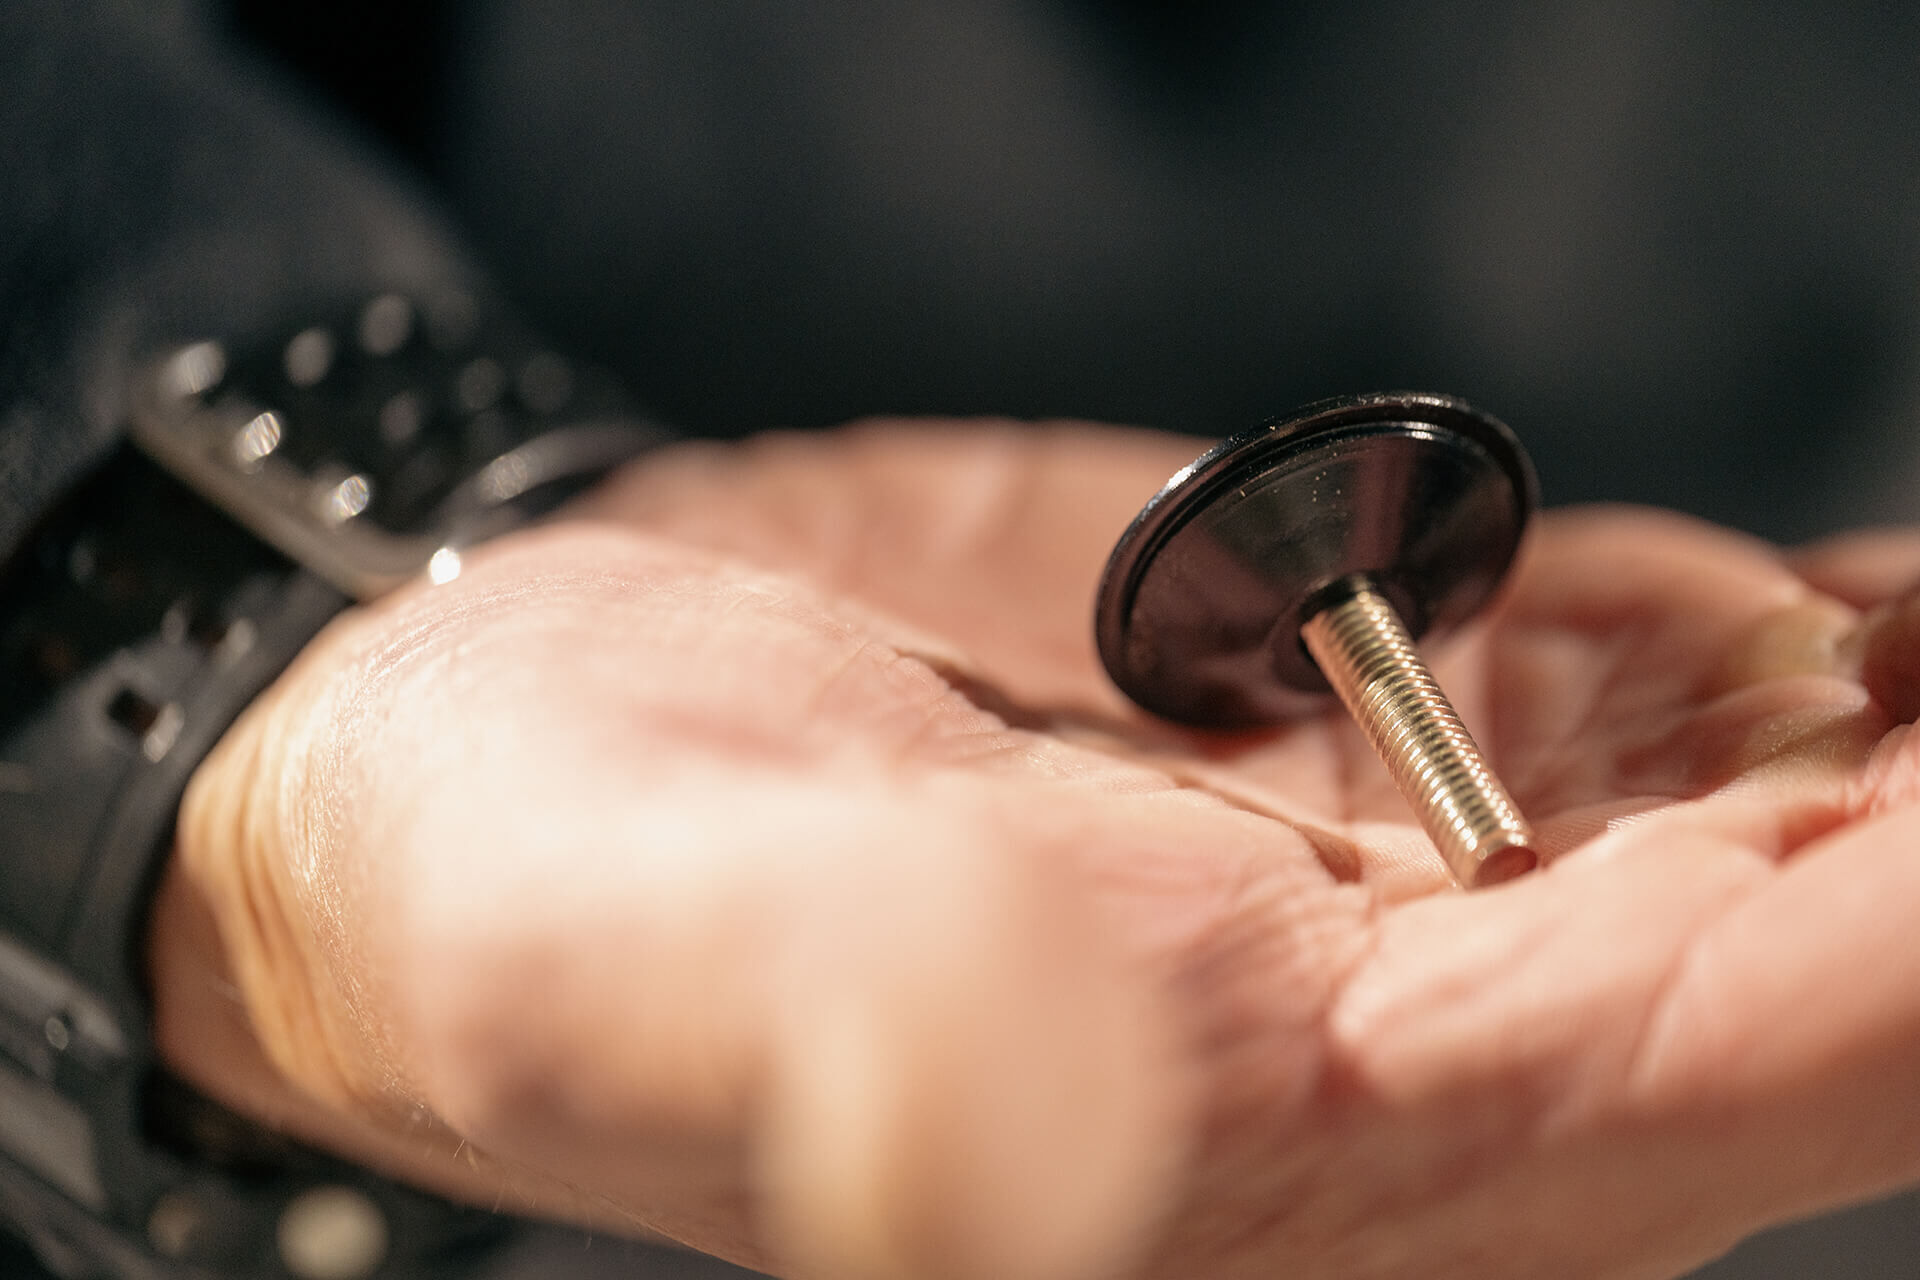
Identify the black M6 countersunk screw in the accessories box.
7
7
Remove the screw and the transport headset cap (Allen 5mm).
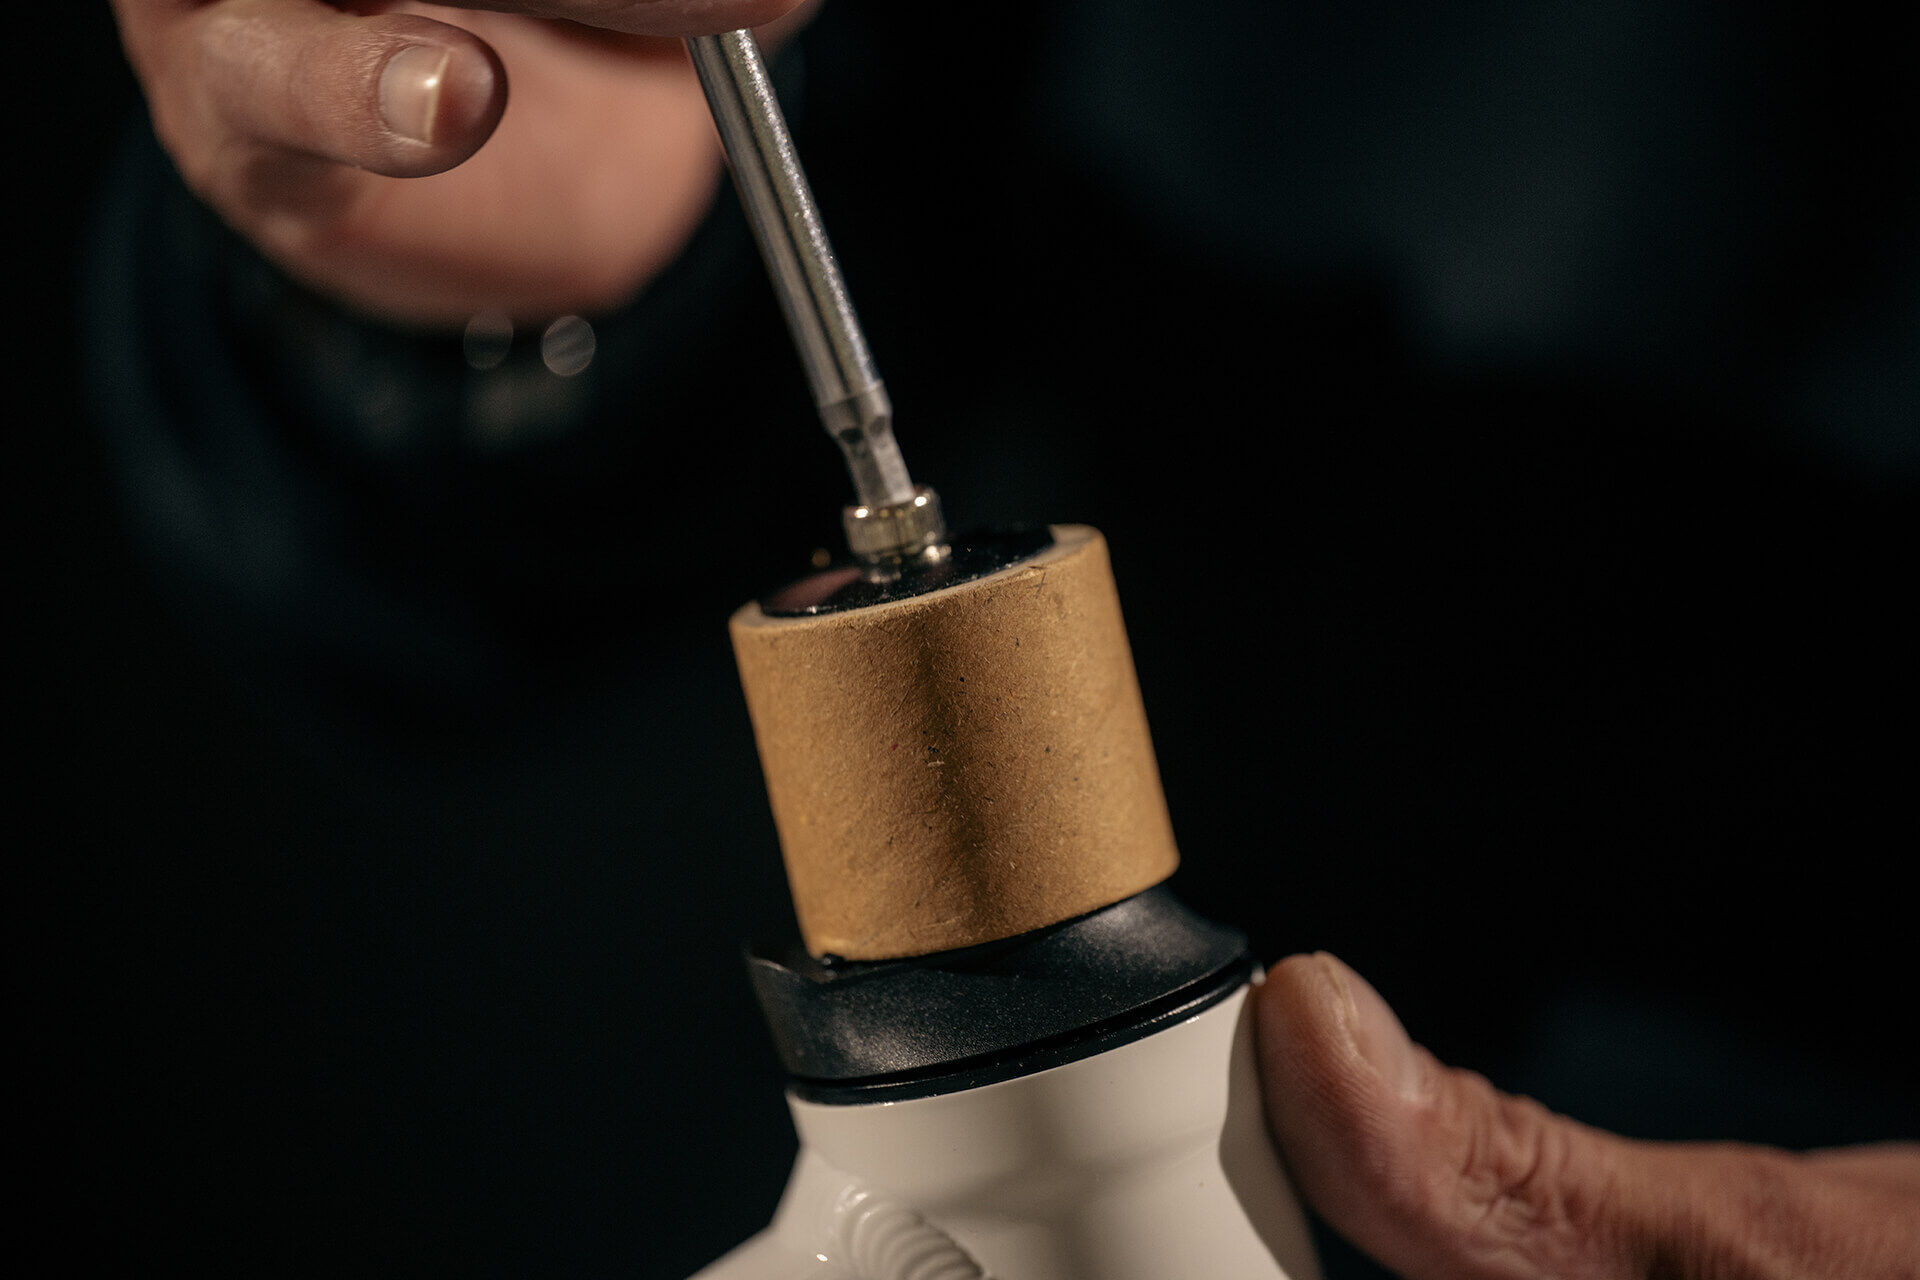
8
8
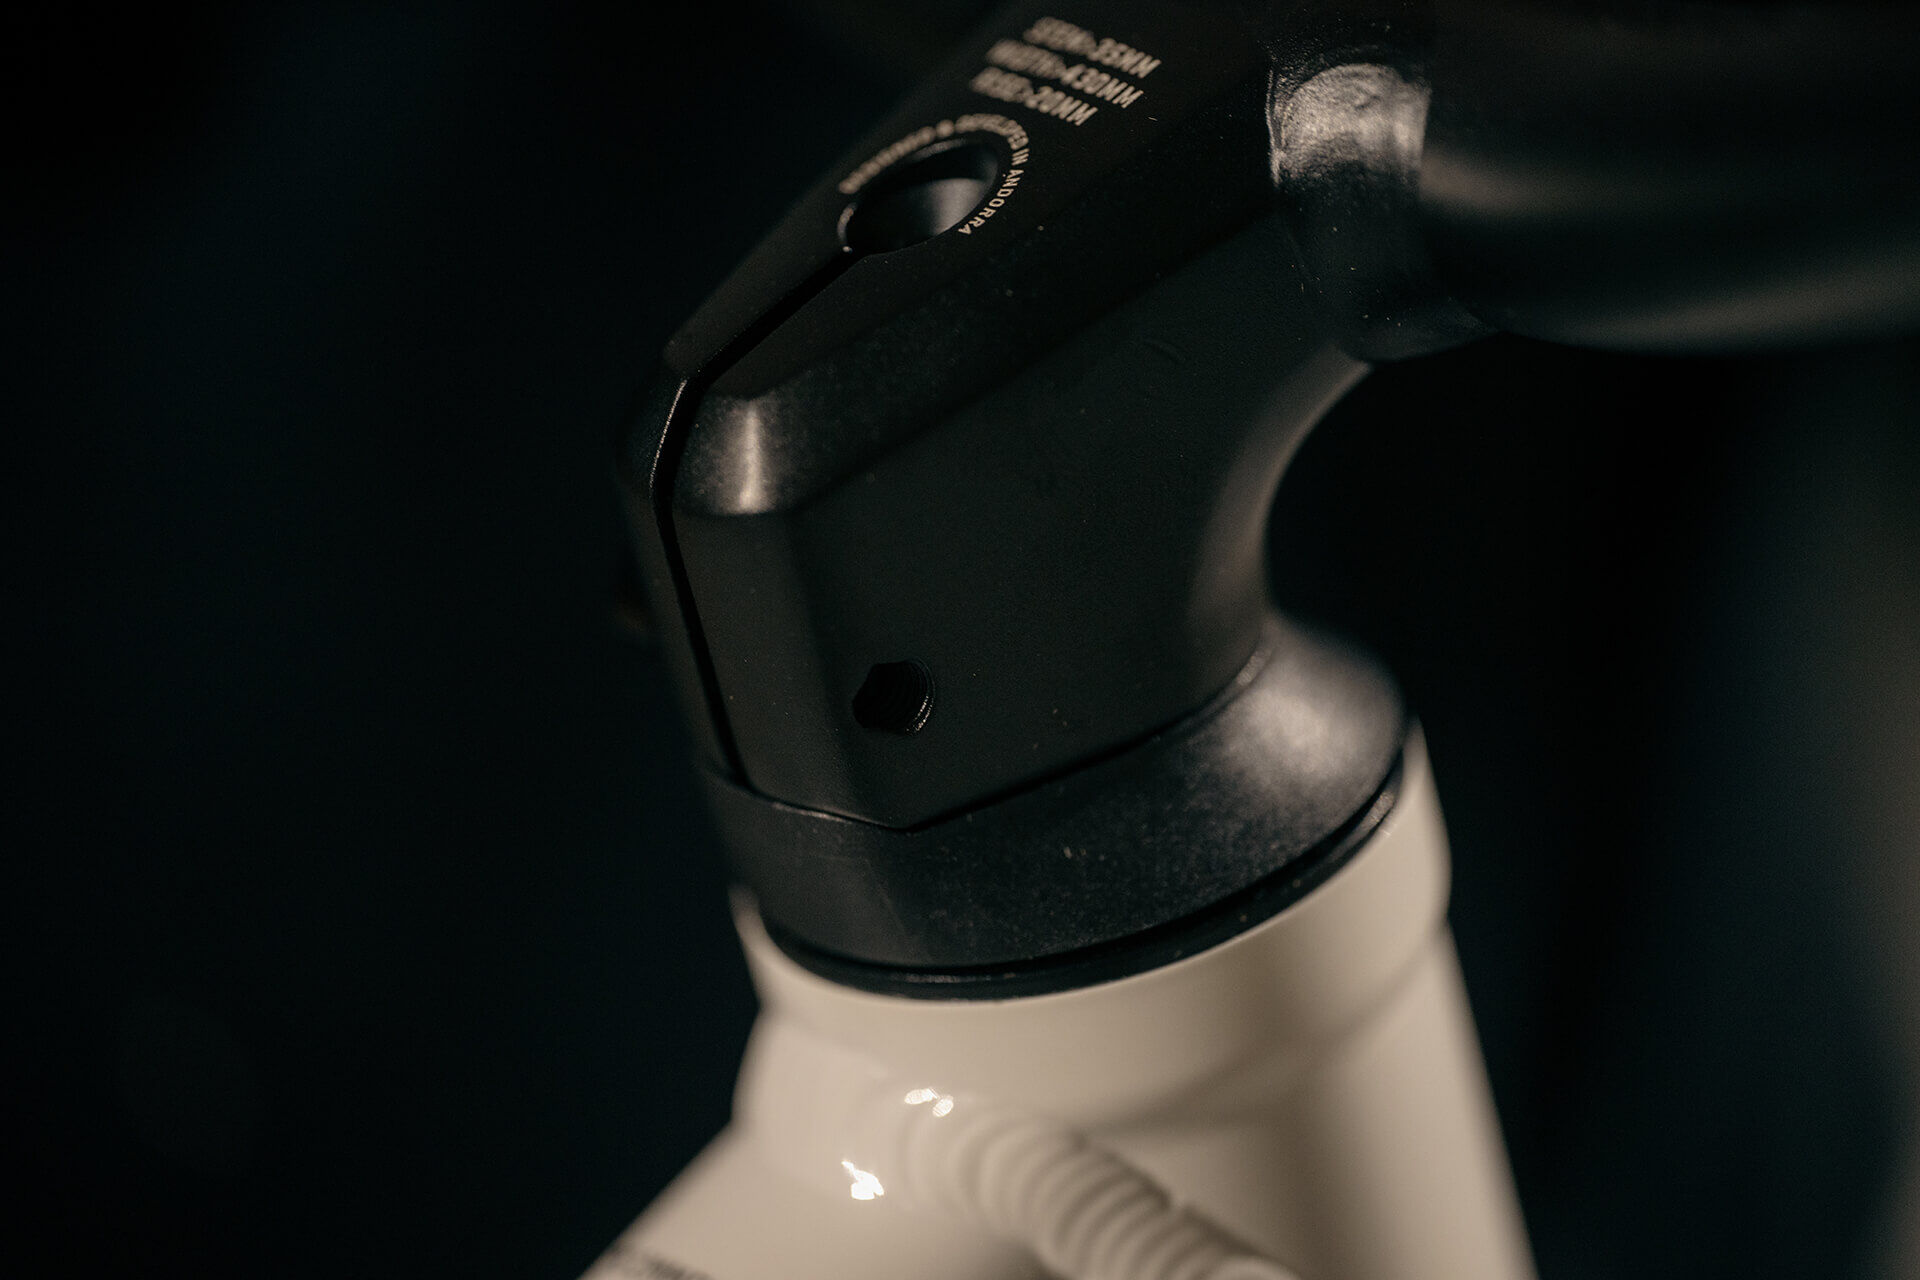
Place the stem/handlebar combo on the fork steerer.
Align with the plastic spacer of the headset.
9
9
Install the black screw in the stem (Allen 4mm).
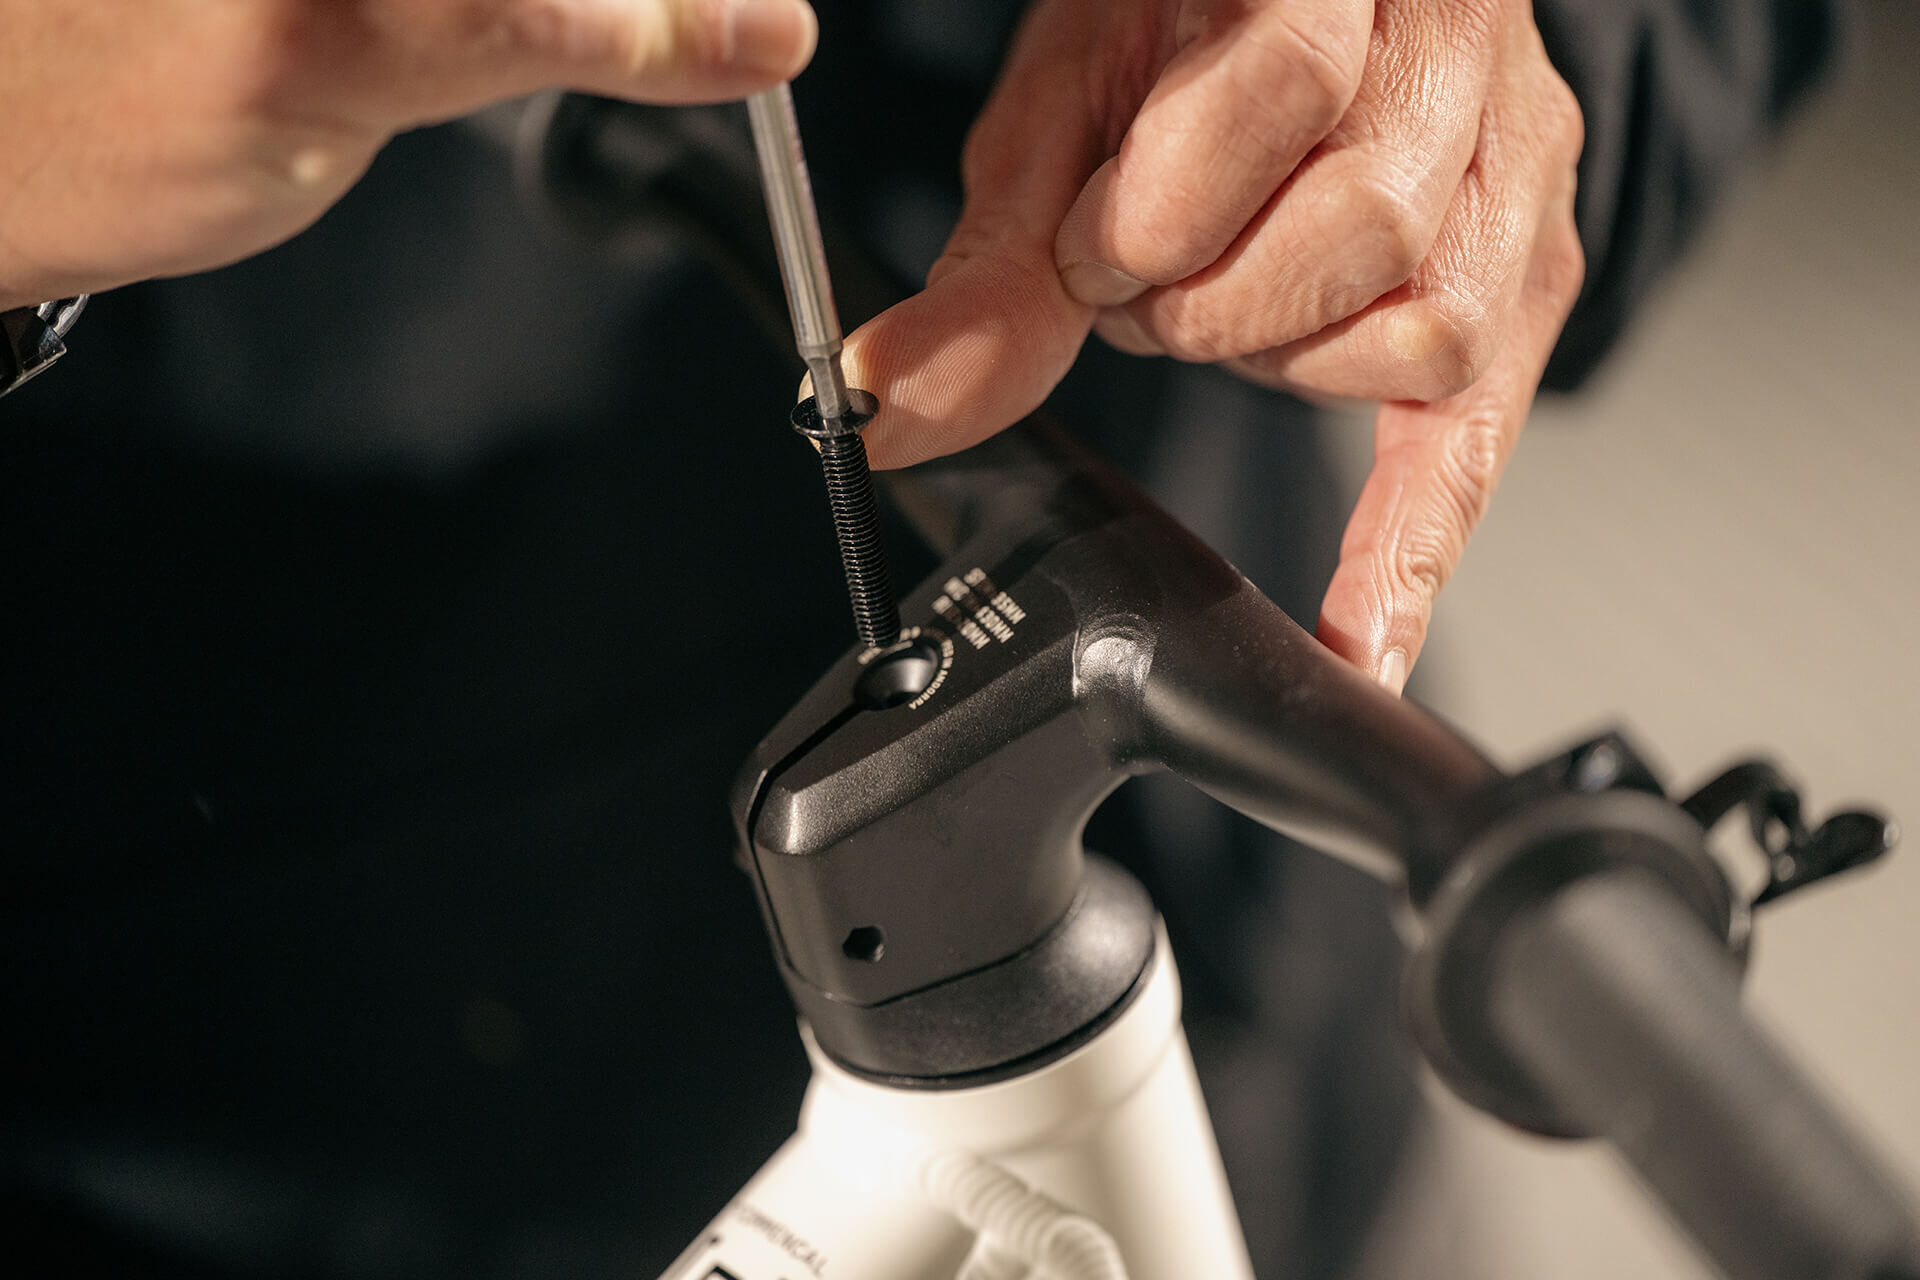
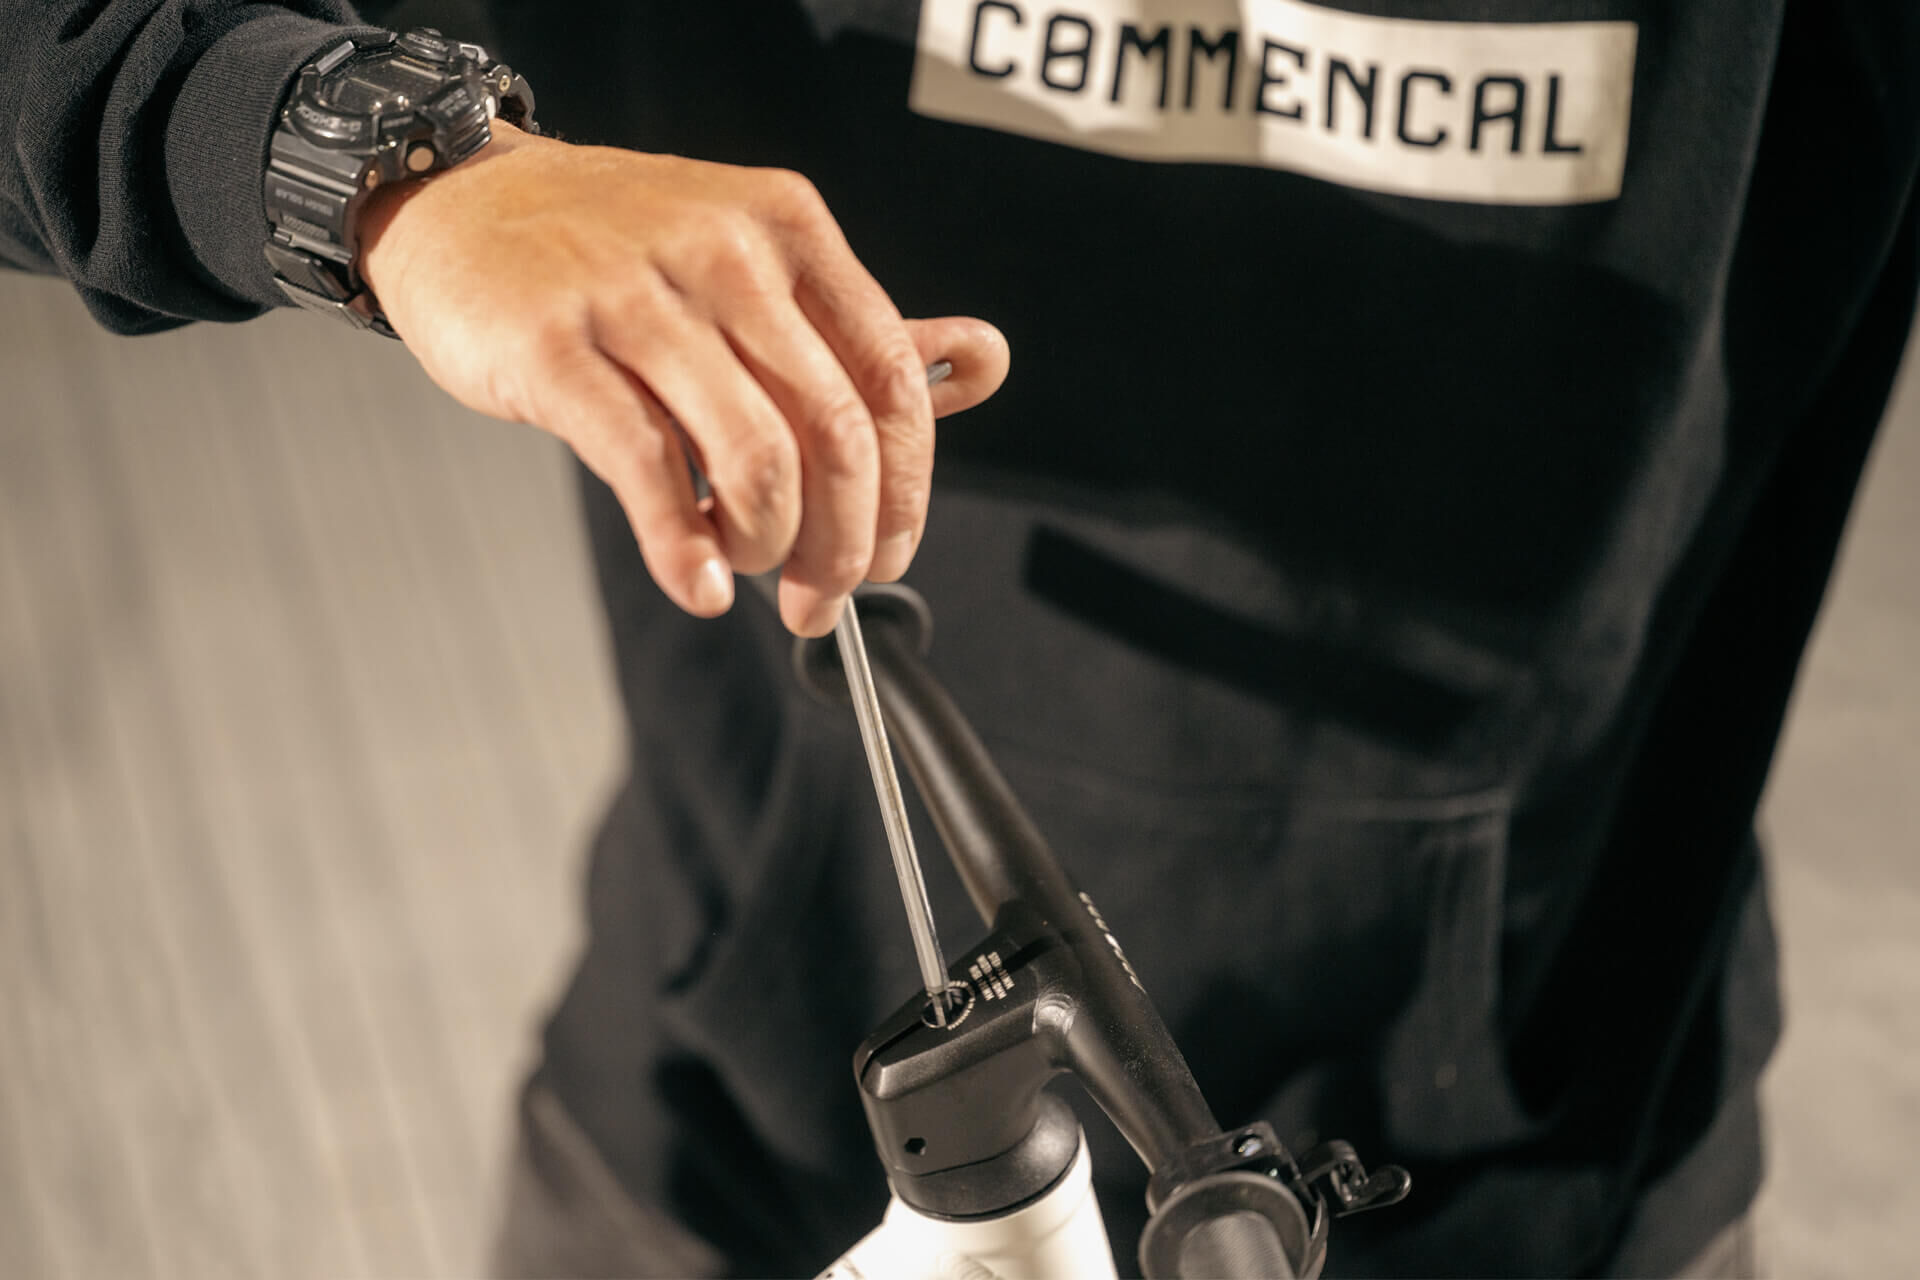
10
10
Tighten the black screw finger-tight to eliminate play in the steering.
11
11
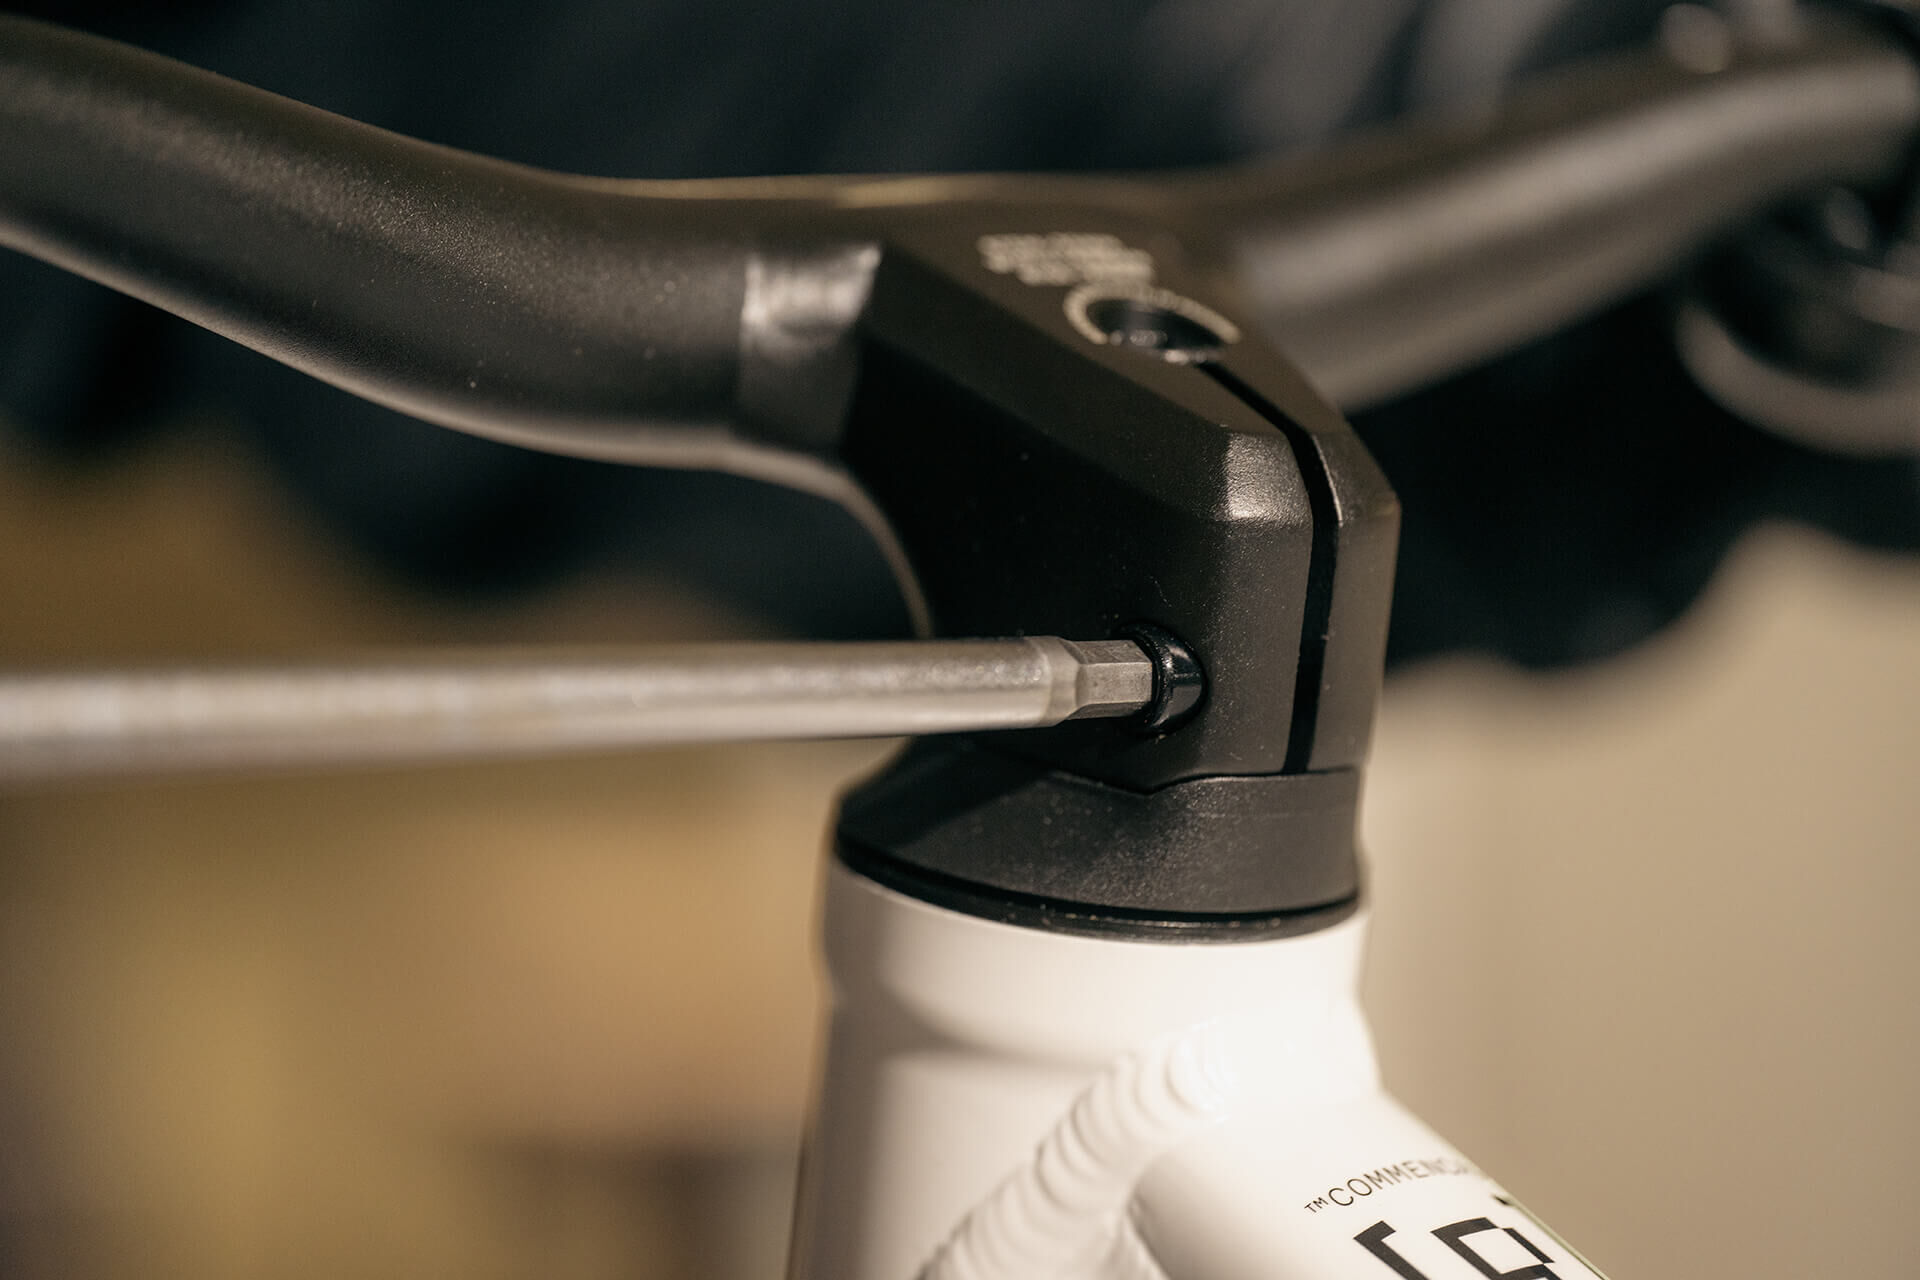
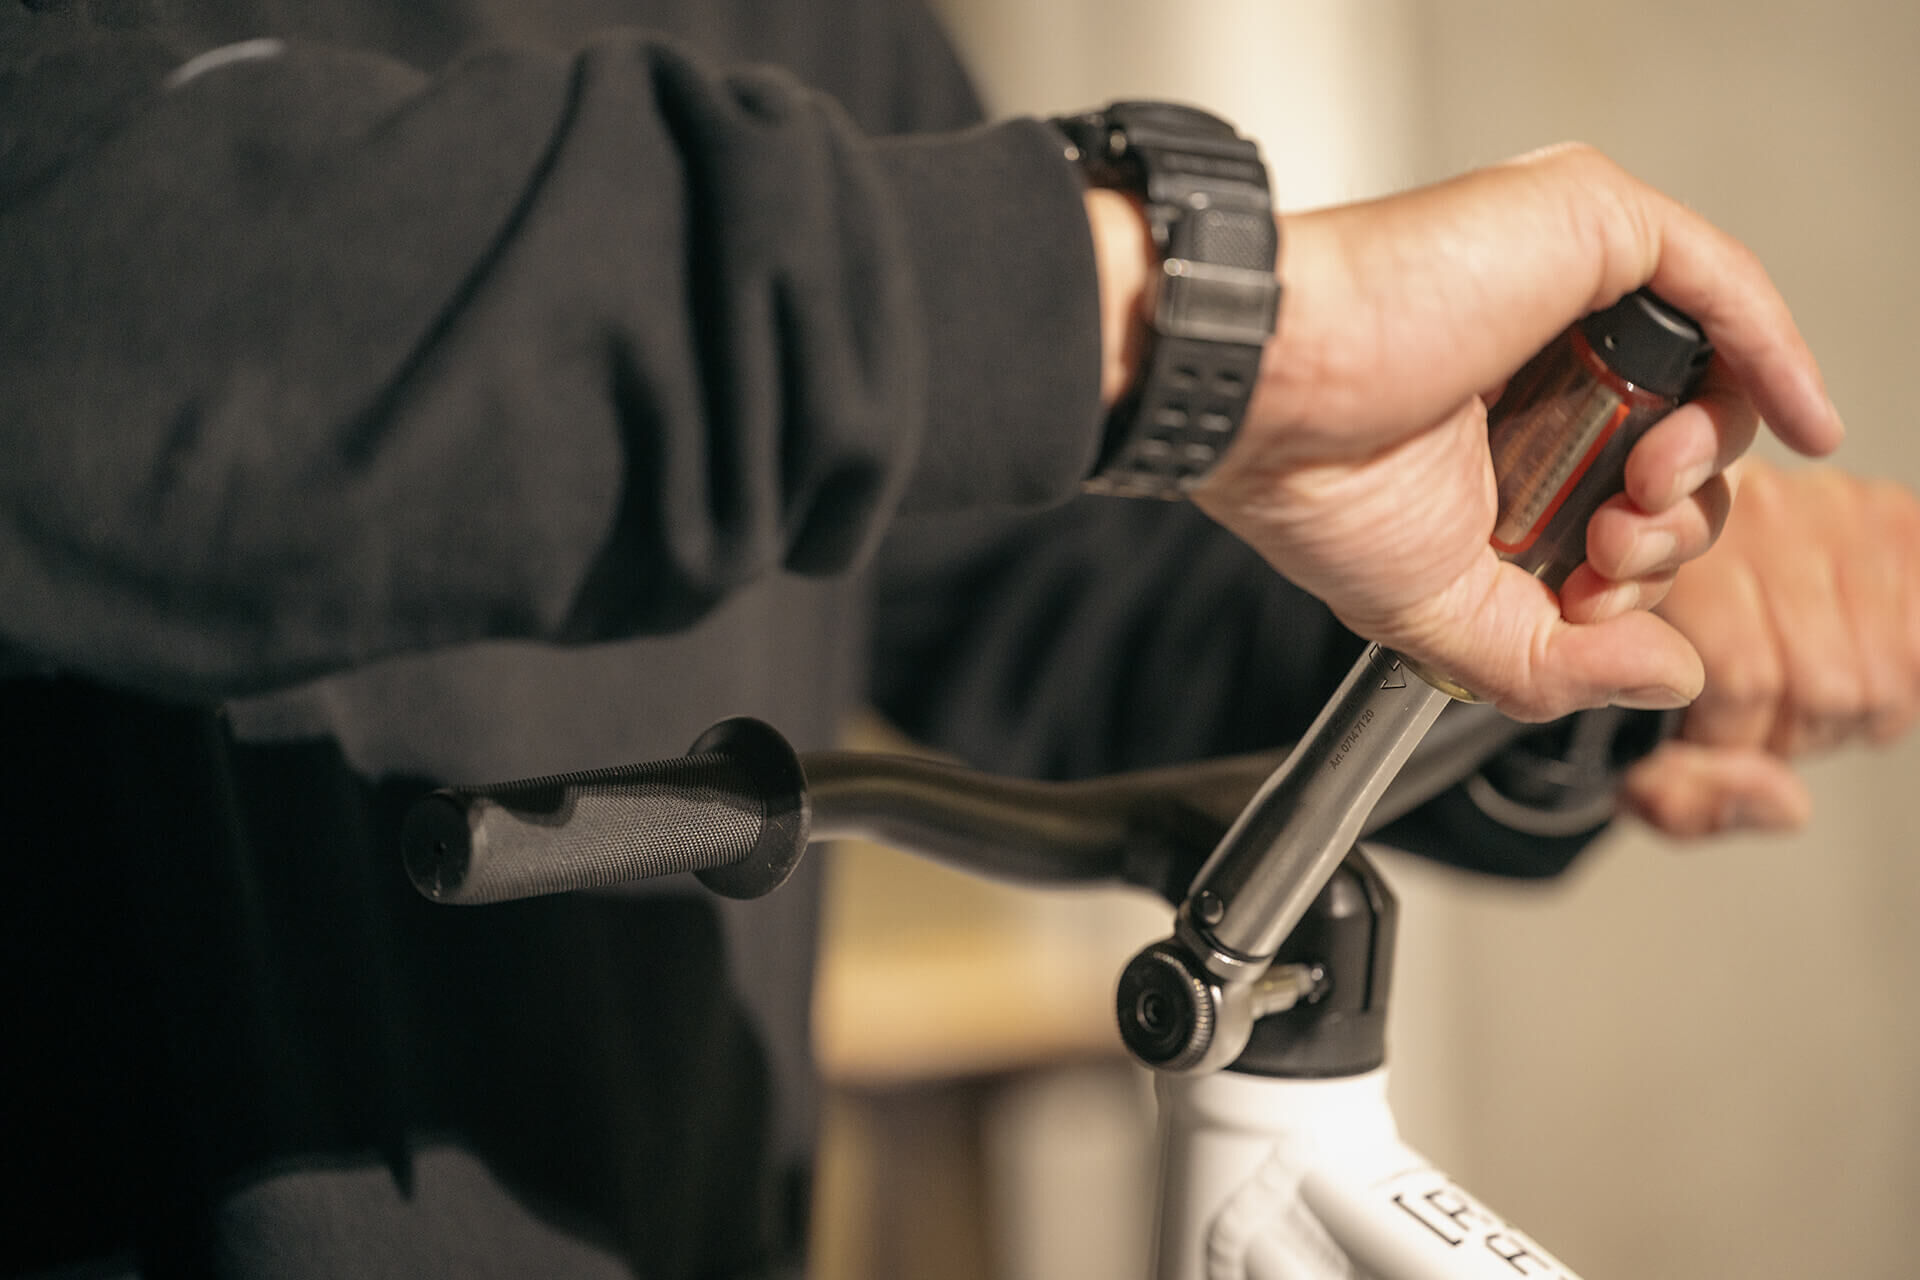
Align the handlebar with the front wheel, and tighten the lateral stem screw (Allen 5mm).
12
12
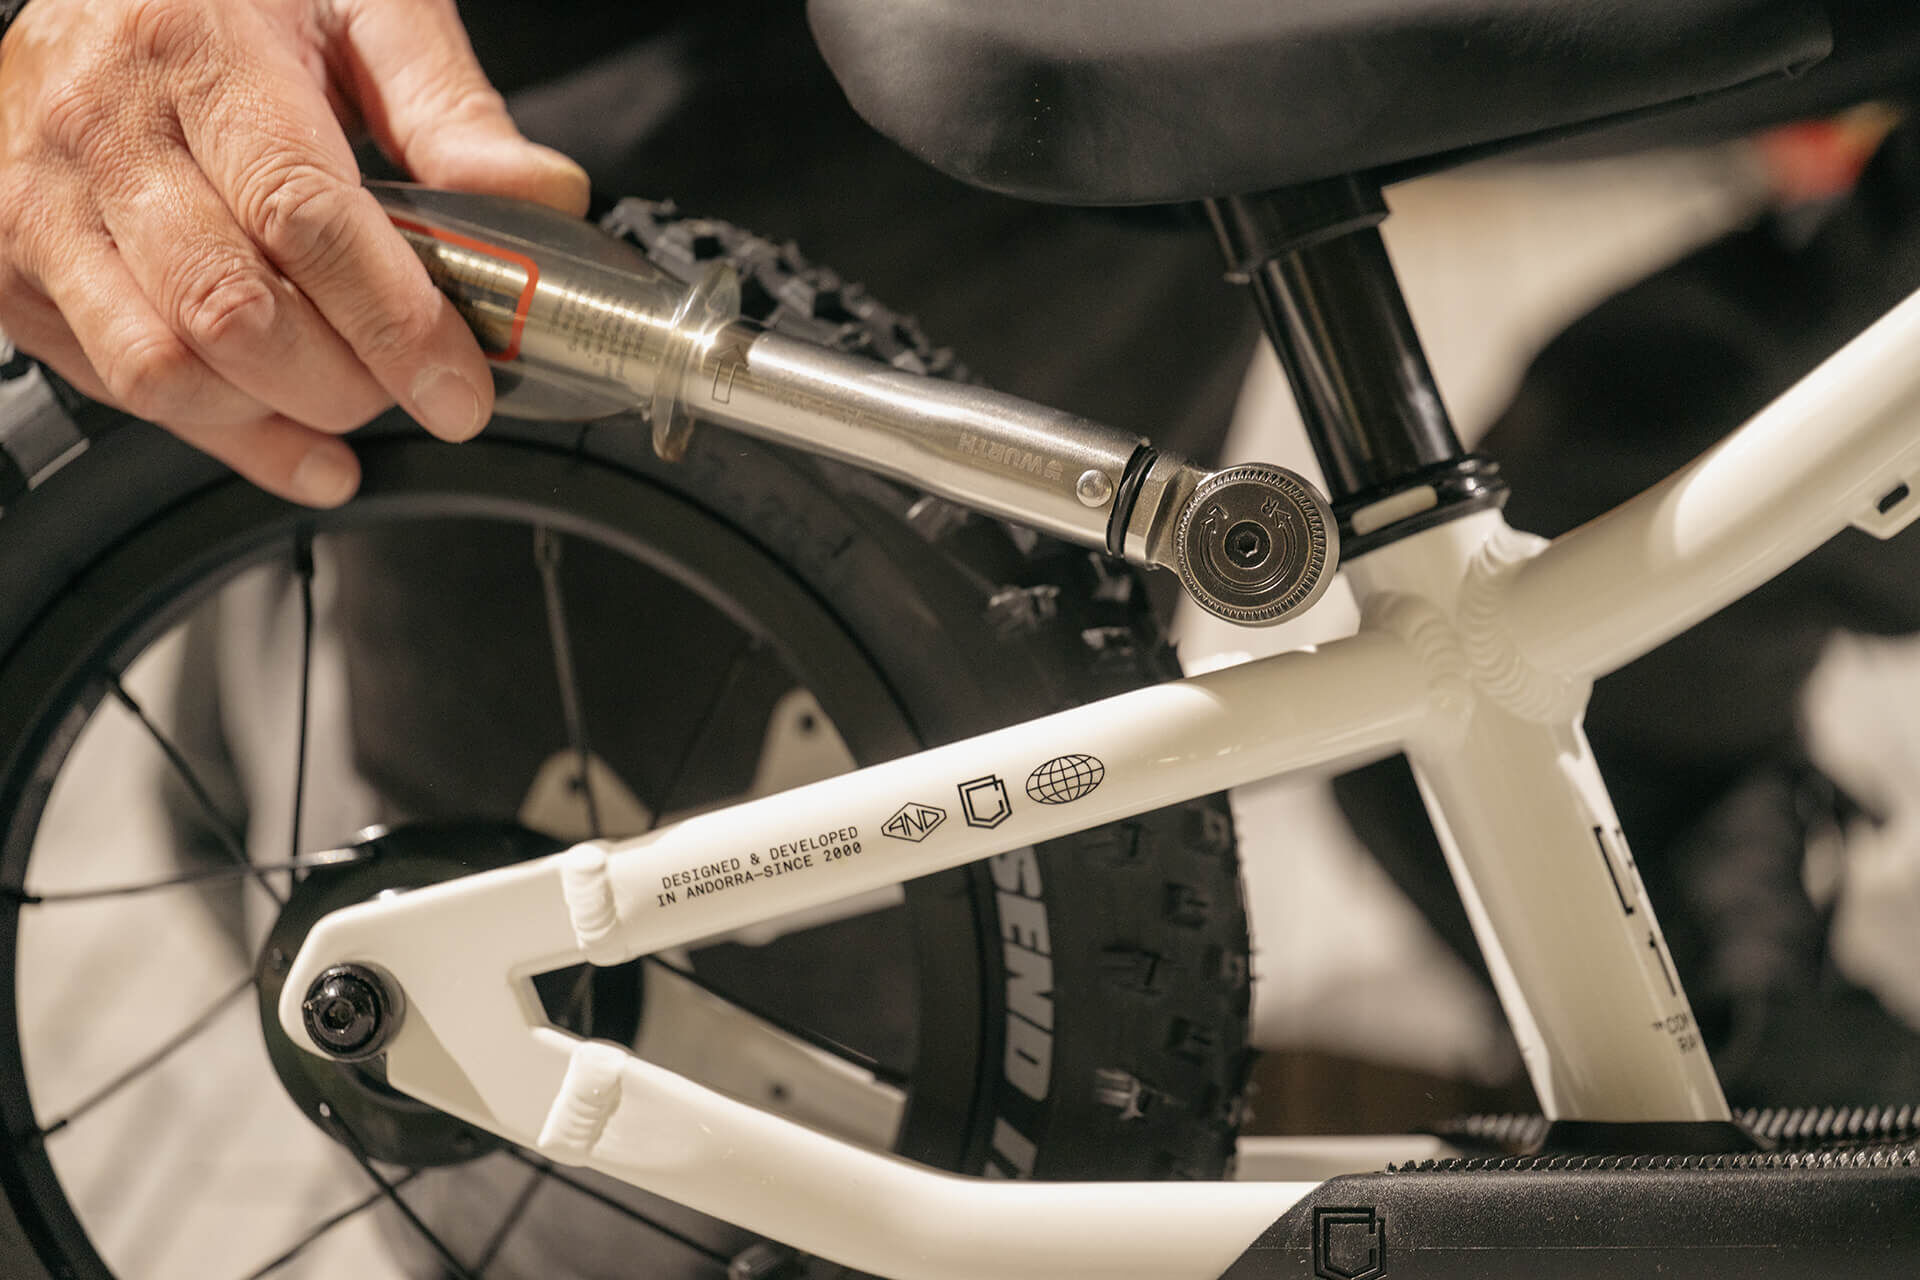
Tighten the lateral stem screw to 6-8N.m (Torque wrench 5mm).
13
13
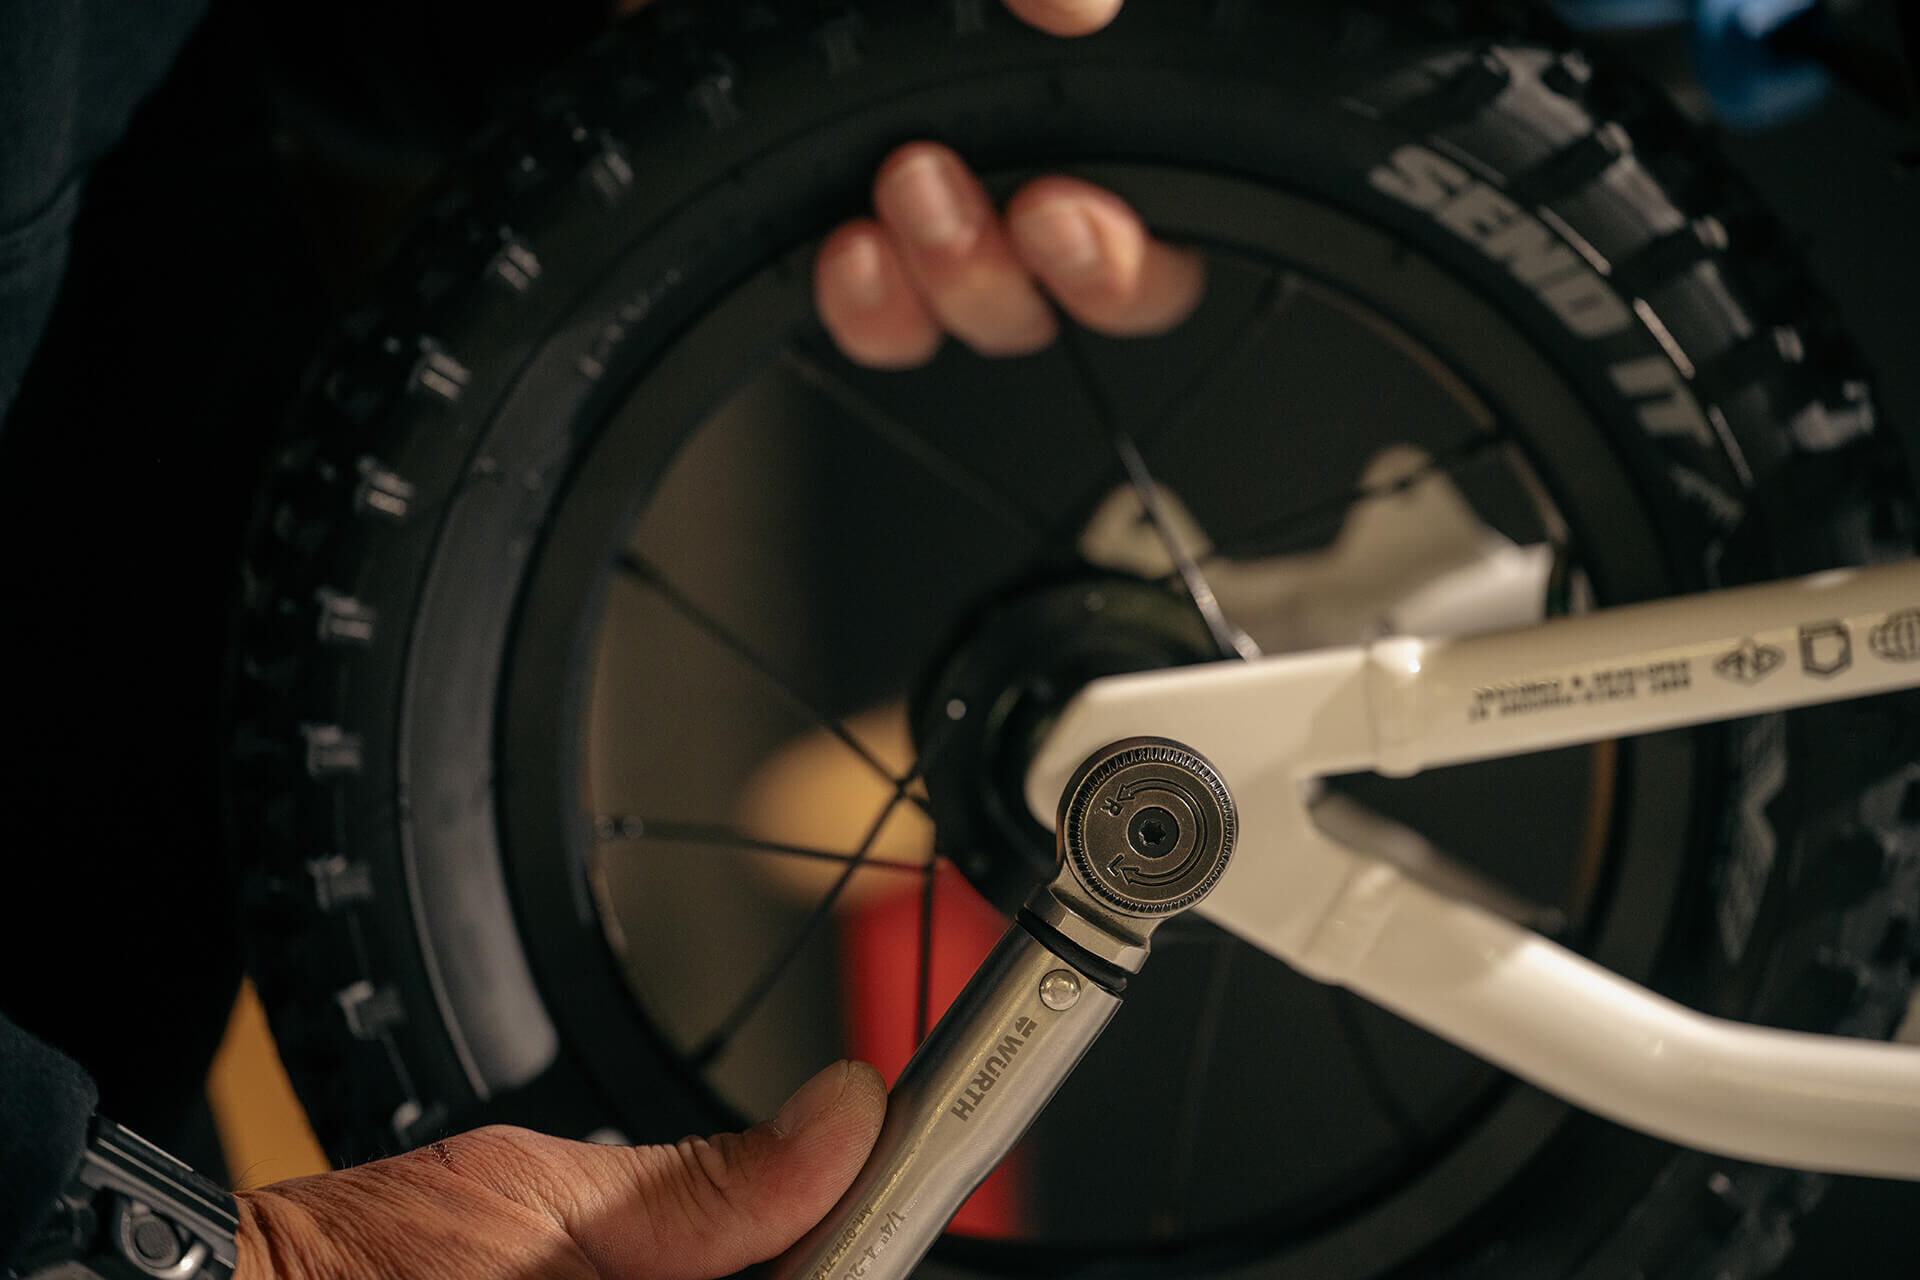
Tighten the front and rear wheel axle screws to 6-8N.m (Torque wrench 5mm).
14
14
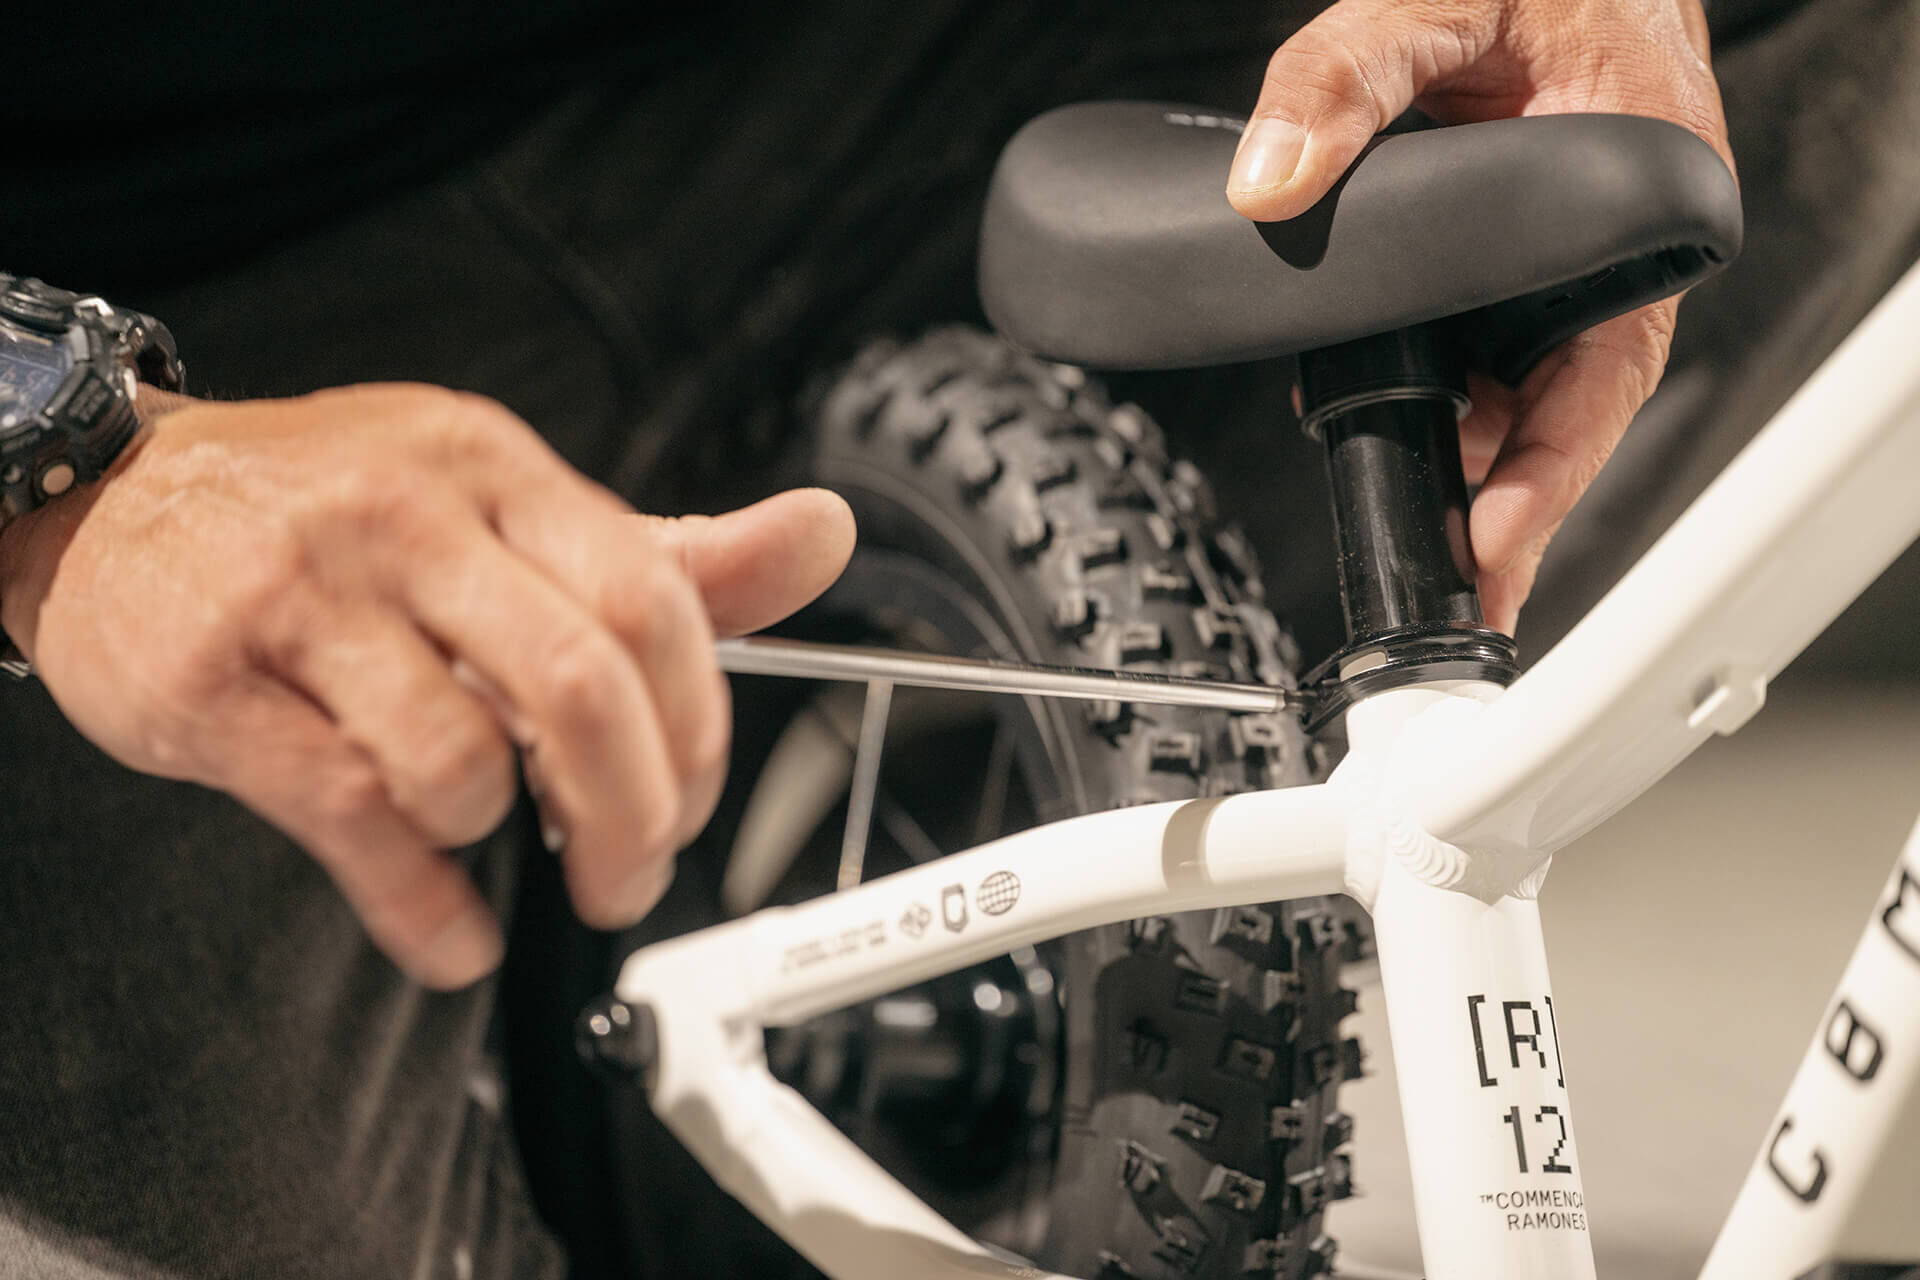
Adjust the saddle height, align it with the frame (Allen 4mm).
15
15
Tighten the seatpost collar screw to 5N.m (Torque wrench 4mm).
16
16
Note: the transport screw and cap are no longer needed.
Your RAMONES 12 is ready for adventure!